
Creating and Running Presentations
Overview
The SpaceTime presentation is a sequence of slides with user-defined states (or snapshots), which include an object’s location, time, and camera orientation, as well as its specified parameters (trails, marks, labels, etc.) and any media added to the slide. You can also control the slide duration and transition time. Smooth movements between locations in different slides are performed by an autopilot, which calculates the optimal acceleration and deceleration speeds for the transition.
All operations with the slides are done in the Slides panel, which has two modes — default presentation mode, and Edit Mode, which allows you to modify the presentation. Pressing the Finish Editing button saves all modifications made to the presentation.
Adding and Deleting Slides
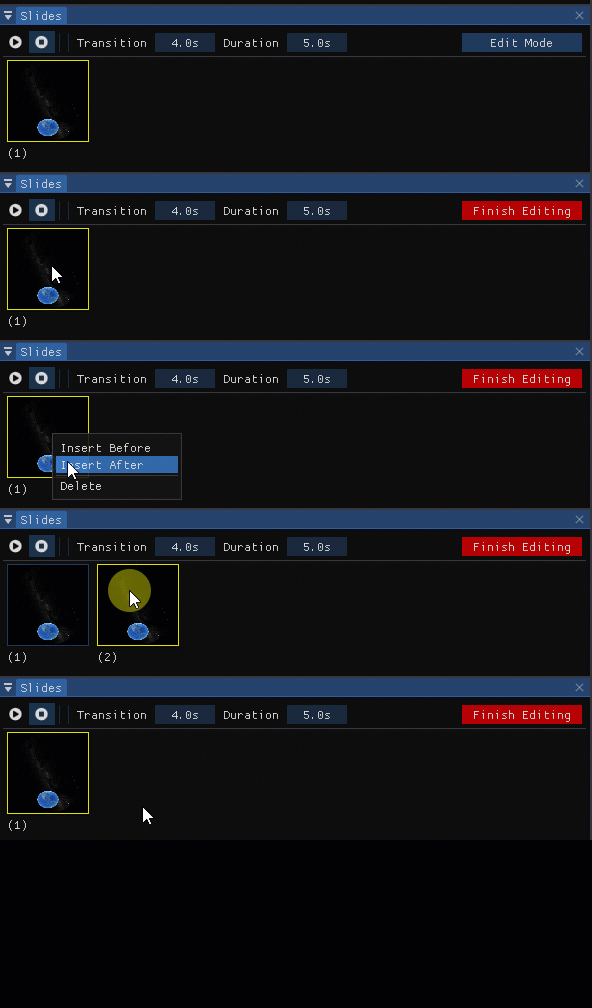
In the Slides panel, while in the Edit Mode, right-click on a slide and then do one of the following:
- To add a new slide, select Insert Before or Insert After from the dropdown menu.
- To delete a slide, select Delete from the dropdown menu.
Object Commands and Parameters
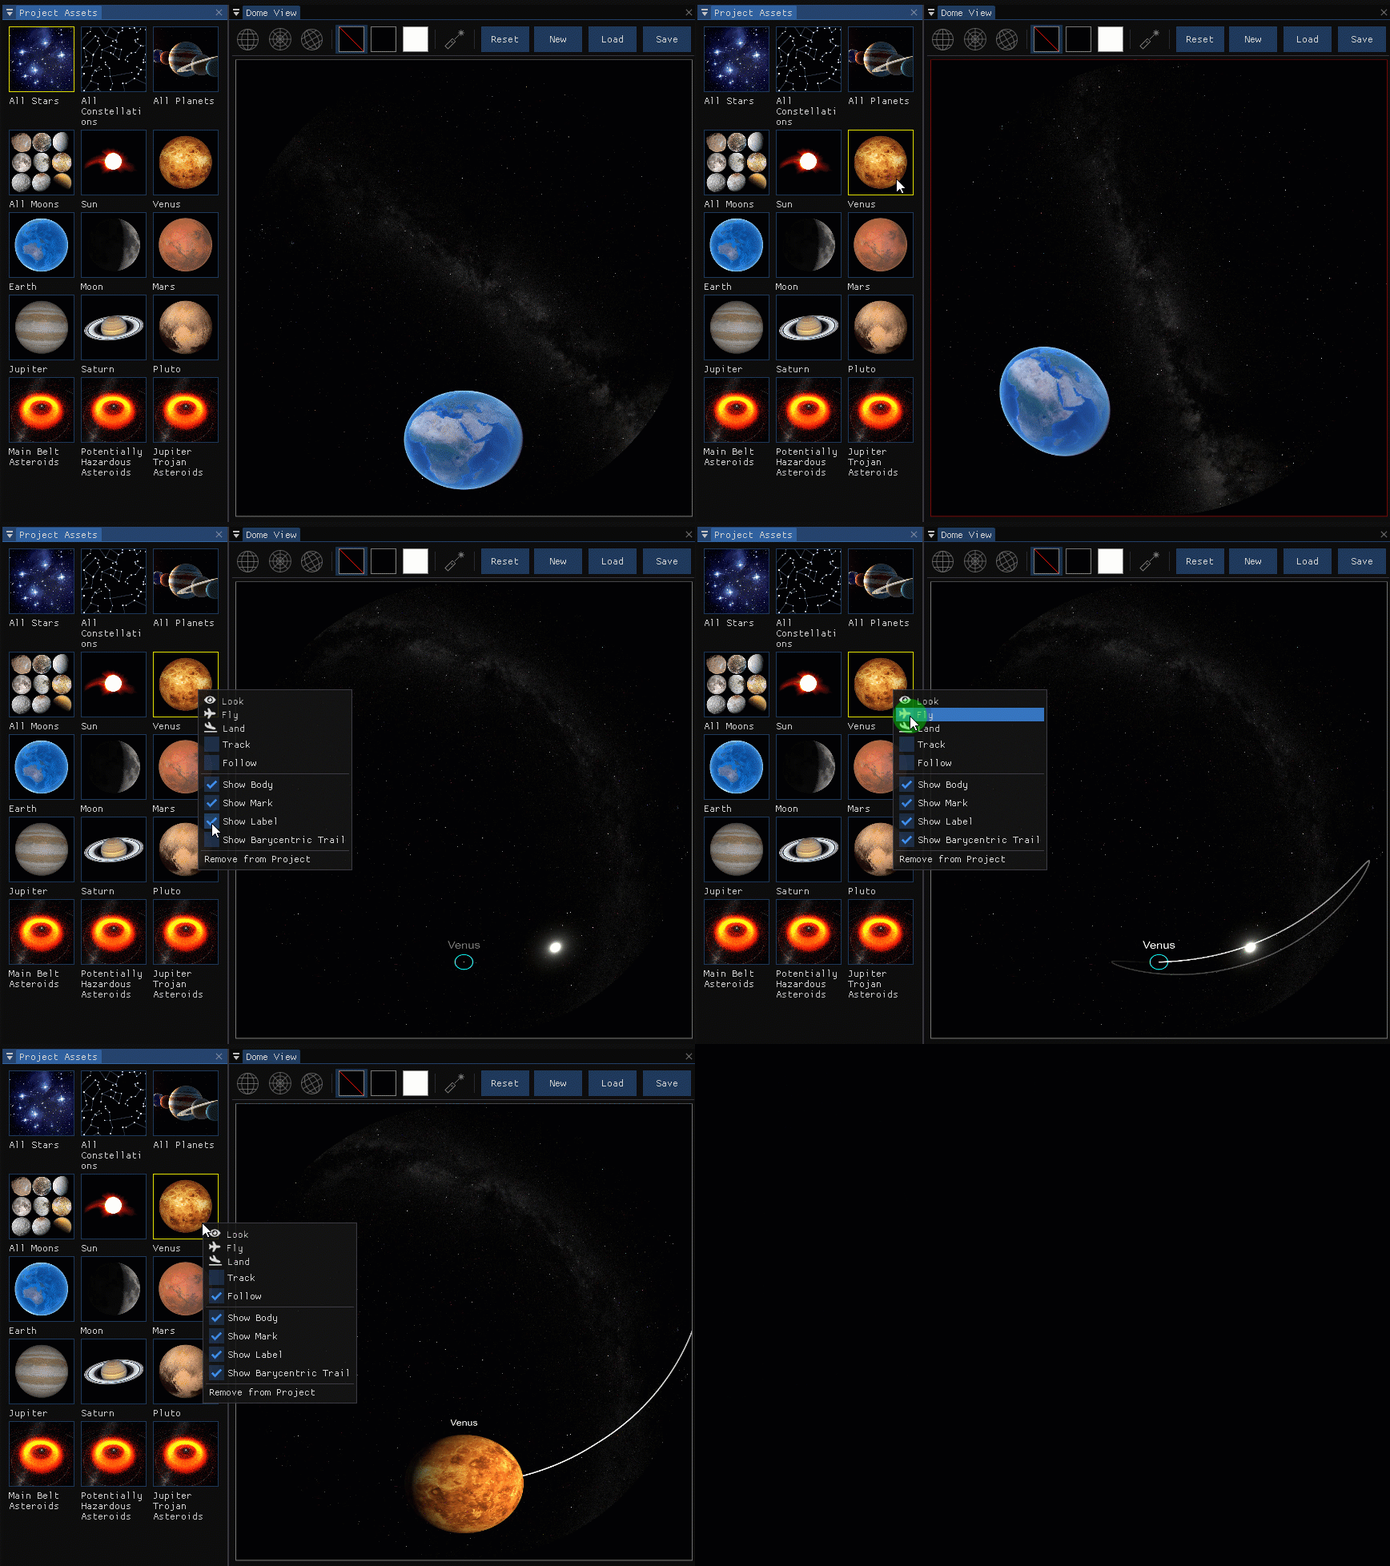
You can change the view of a slide by drag-and-dropping the object to the Dome View window and adjusting the view using the mouse and keyboard shortcuts. Another way to control, modify and enhance the slide view is by using navigation commands and changing the visualization parameters available for each astronomical object in the Project Assets panel or their advanced version in the Inspector panel.
To access these commands and parameters, do one of the following:
- In the Project Assets panel, right-click on an object to open the dropdown menu.
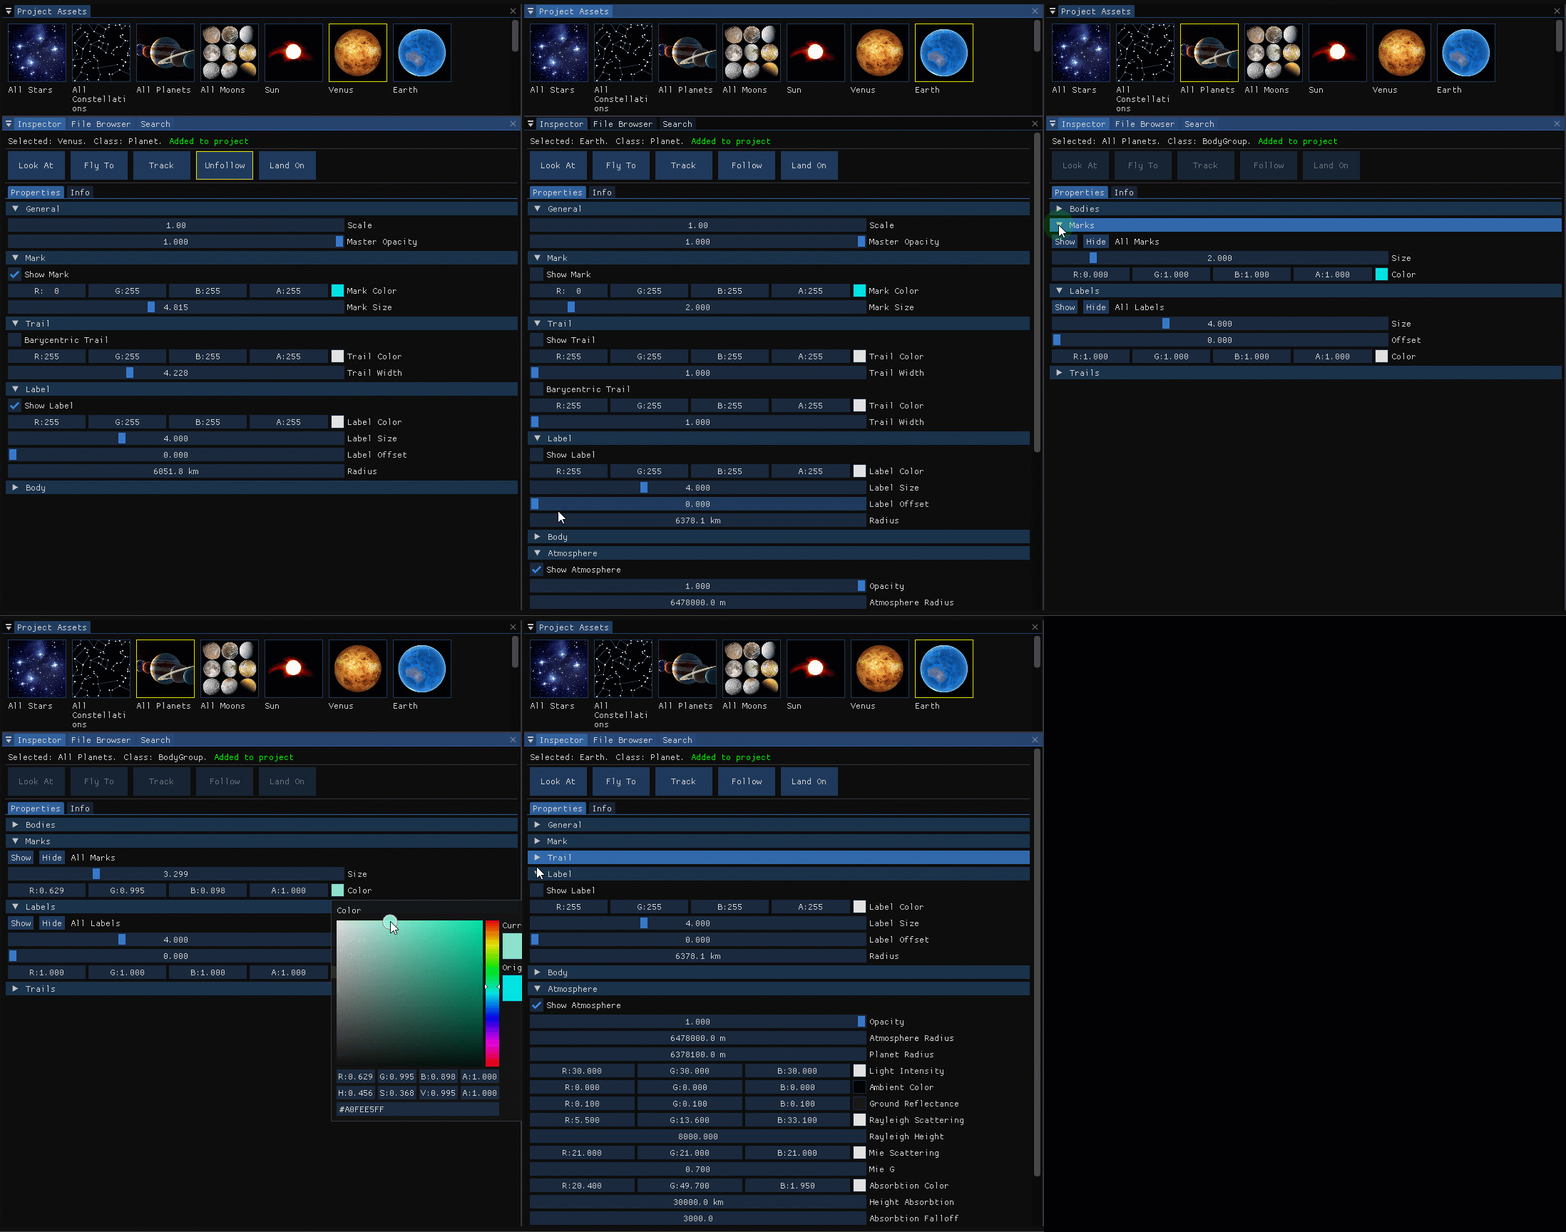
- Select an object in the Project Assets panel and open the Inspector panel to access the advanced settings for visualization parameters.
While each object has its own set of available commands and parameters, the most common are listed below:
Look Centers the camera view on the object without changing the camera location in 3D space.
Note:
In the context of a projection on a dome, “centered on the screen” actually means pointing the camera at what is known as the “sweet spot”. The sweet spot for a standard planetarium dome (with directional seating) is 30 degrees above the front horizon.
Fly Moves the camera to the object location in 3D space.
Land Lands the observer on the object and gives a view of the sky from the specified location. See more in Landing on the Object.
Track Keeps the camera centered on the object.
Follow Specifies that the camera should follow the object in 3D space.
Show / Hide buttons or Show checkbox [Visual Parameter] Enables you to toggle the visibility of a specific object’s parameter on and off.
In addition to the commands and parameters available in the Project Assets panel, the Inspector panel offers additional controls and settings for the visual parameters particular to a specific astronomical object. They typically include scale, opacity controls for the object’s body, atmospheric controls, width, color, size of the object’s trail, mark, label, and other visual elements.
Setting Time
SpaceTime allows users to transition not only to any location in the universe but also to any point in time. The simulation can be run with time flowing forward or backward.
Time controls are provided in the Time panel, where the user can set the time using the calendar, select the type of motion used for observing changes of astronomical objects’ position over time, and control the flow of time.
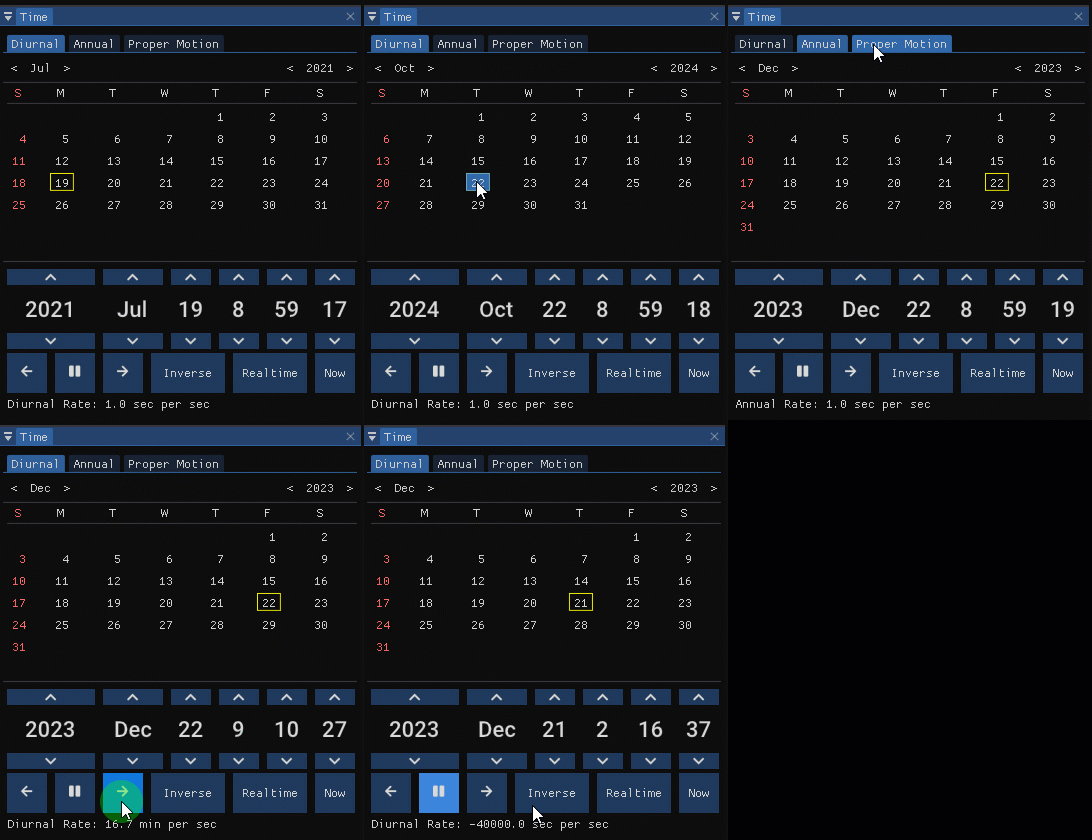
The information on the astronomical object being tracked in the selected slide is also shown in the Observer panel. You can stop tracking the object by clicking the Stop Tracking button.
Tracking the Object
The user can set the Track parameter for the object to keep it centered in the slide view.
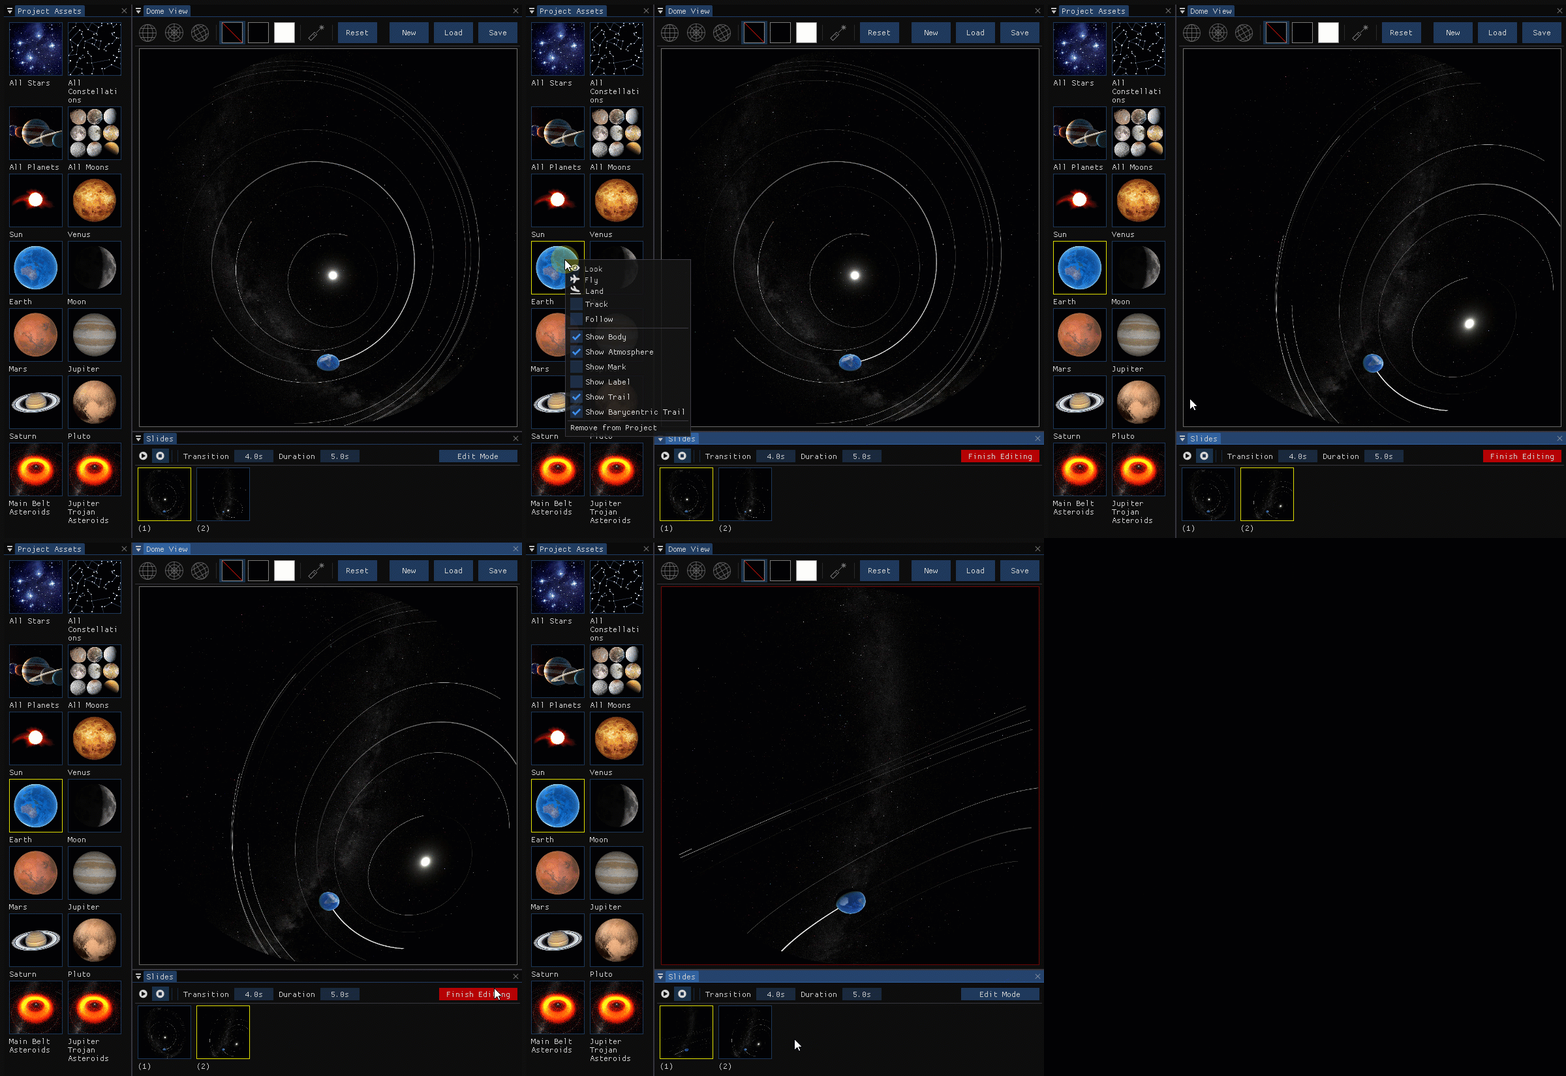
The user can set the Track parameter for the object to keep it centered in the slide view.
Following the Object
If the Follow parameter is set for the object, the camera will follow the object in the 3D space.
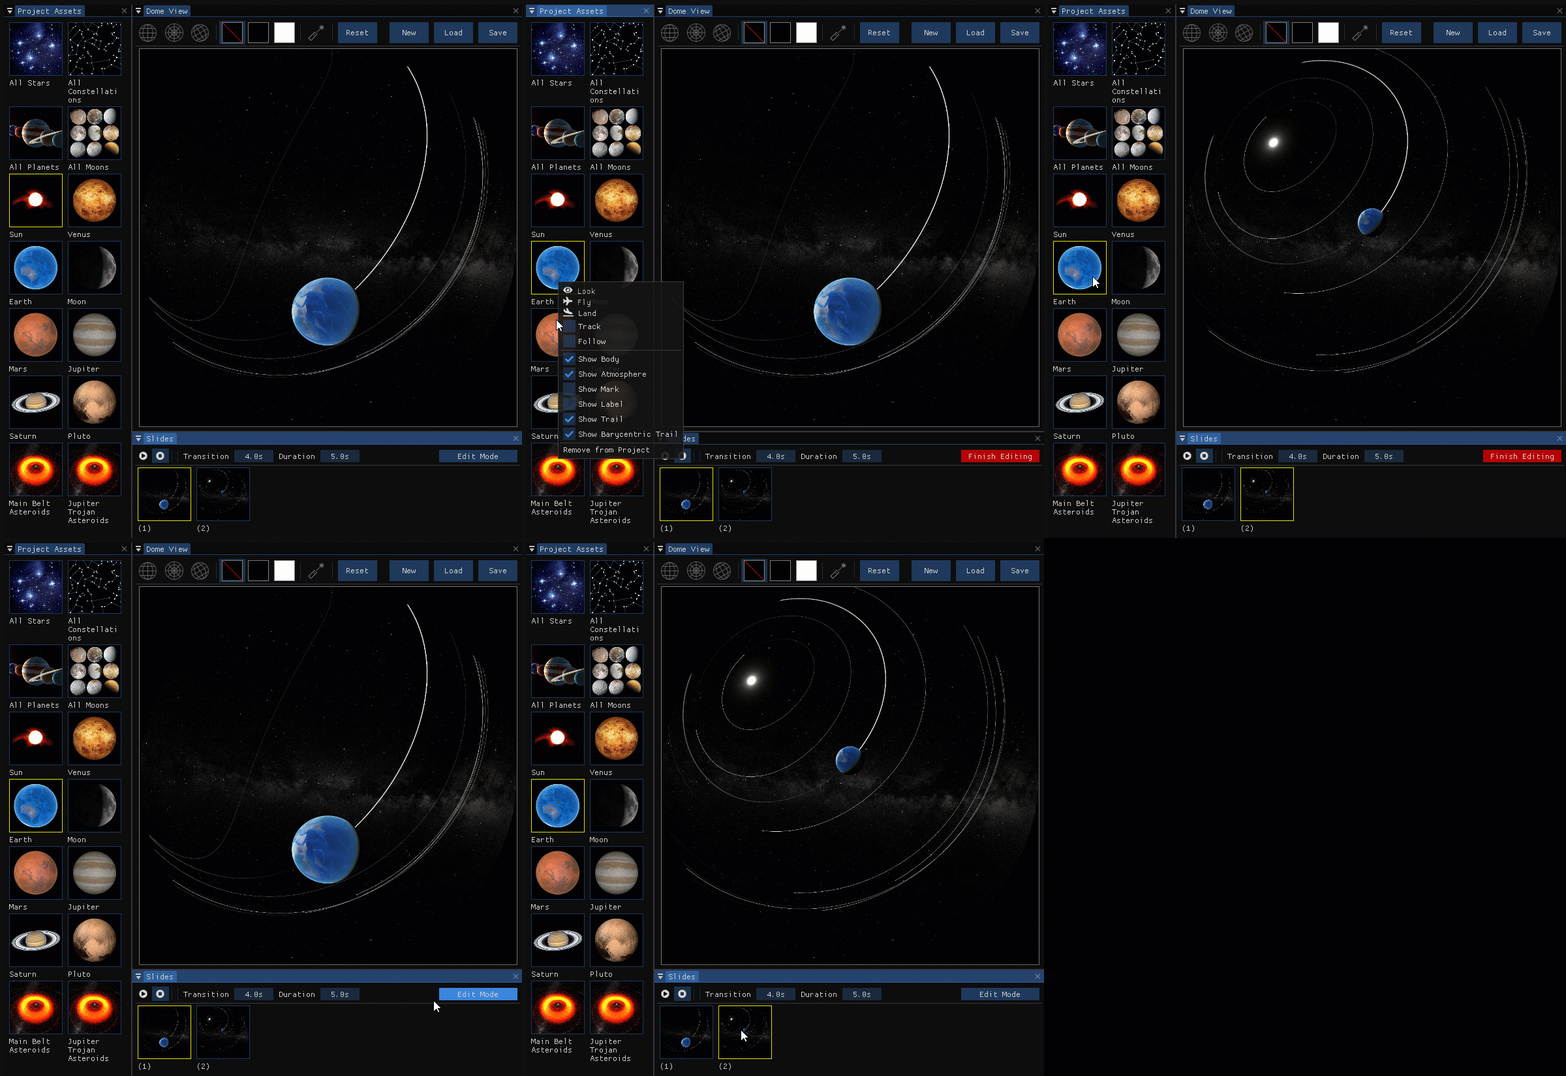
The information on the astronomical object being followed in the selected slide is also shown in the Observer panel. You can stop following the object by clicking the Unfollow button.
Landing on the Object
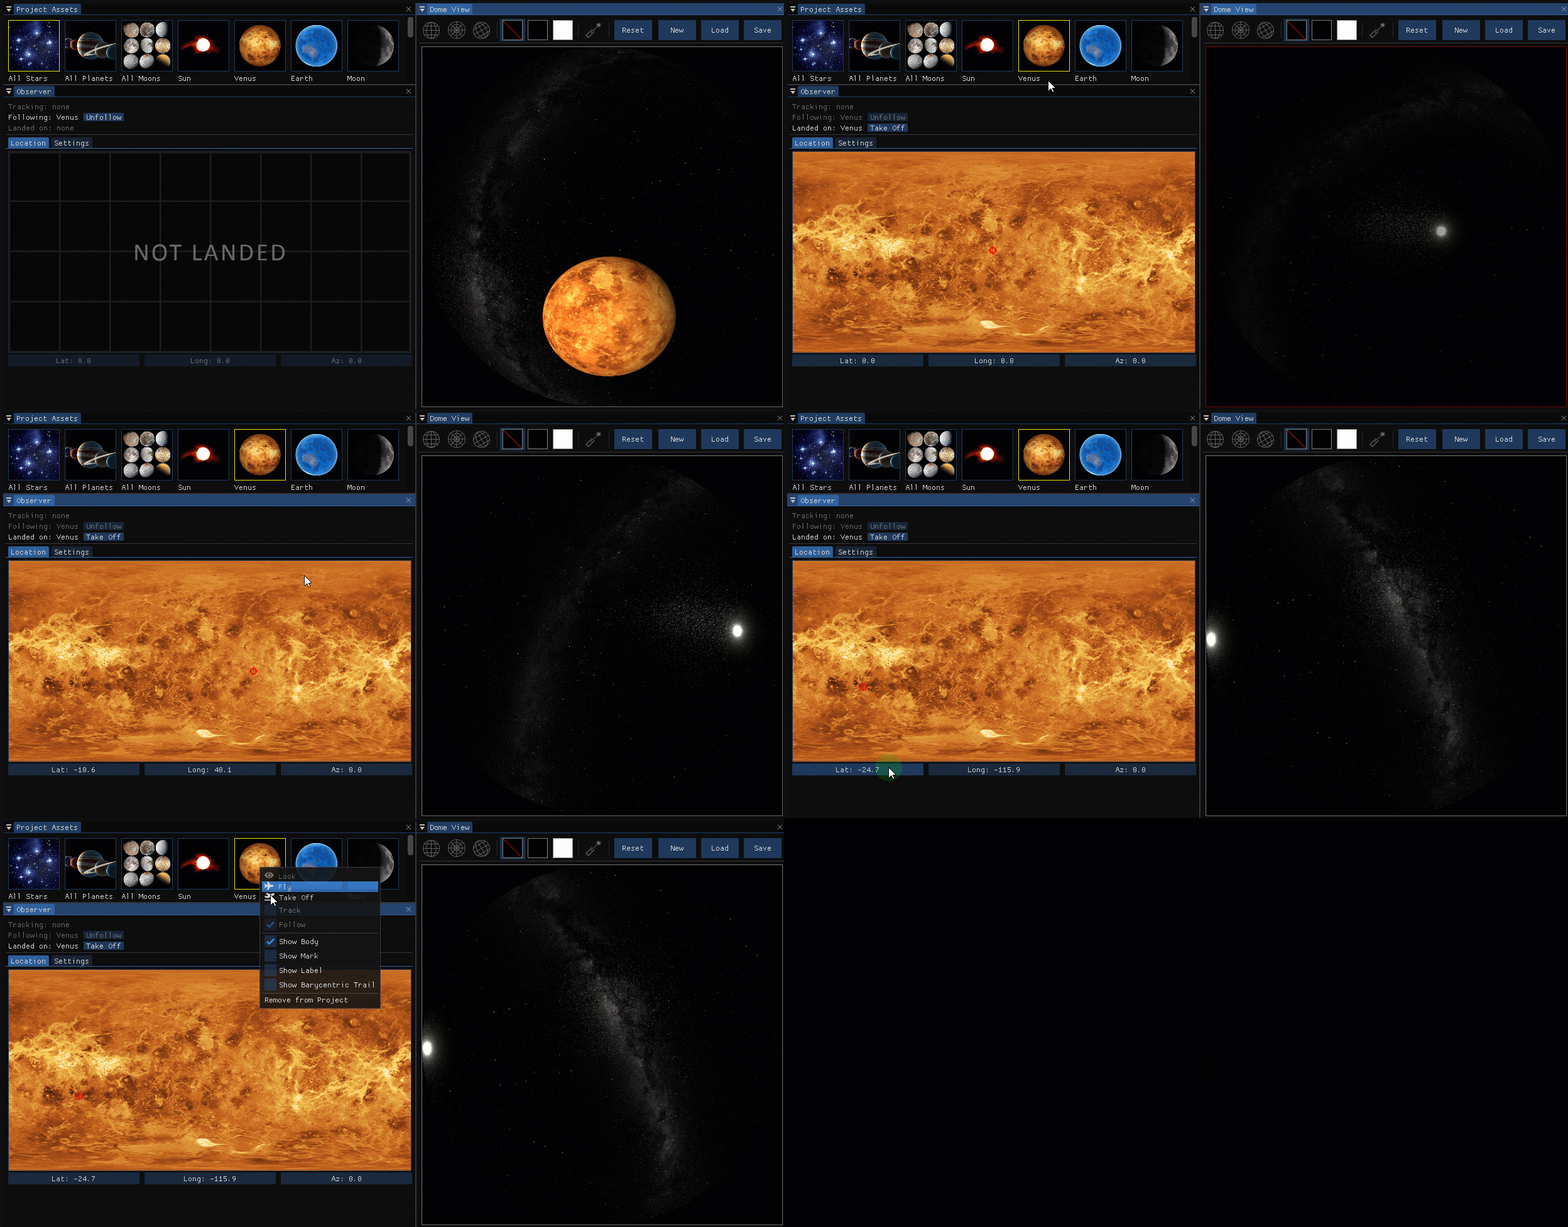
The landing option is available for some astronomical objects, such as planets and moons. By applying the Land command, the user lands on the object, and the slide view changes to that of the sky from the object. Additionally, the user can set the location on the object from which to observe the sky by clicking on the object’s map or by entering latitude, longitude, and azimuth coordinates in the Observer panel.
Adding Media to the Slide
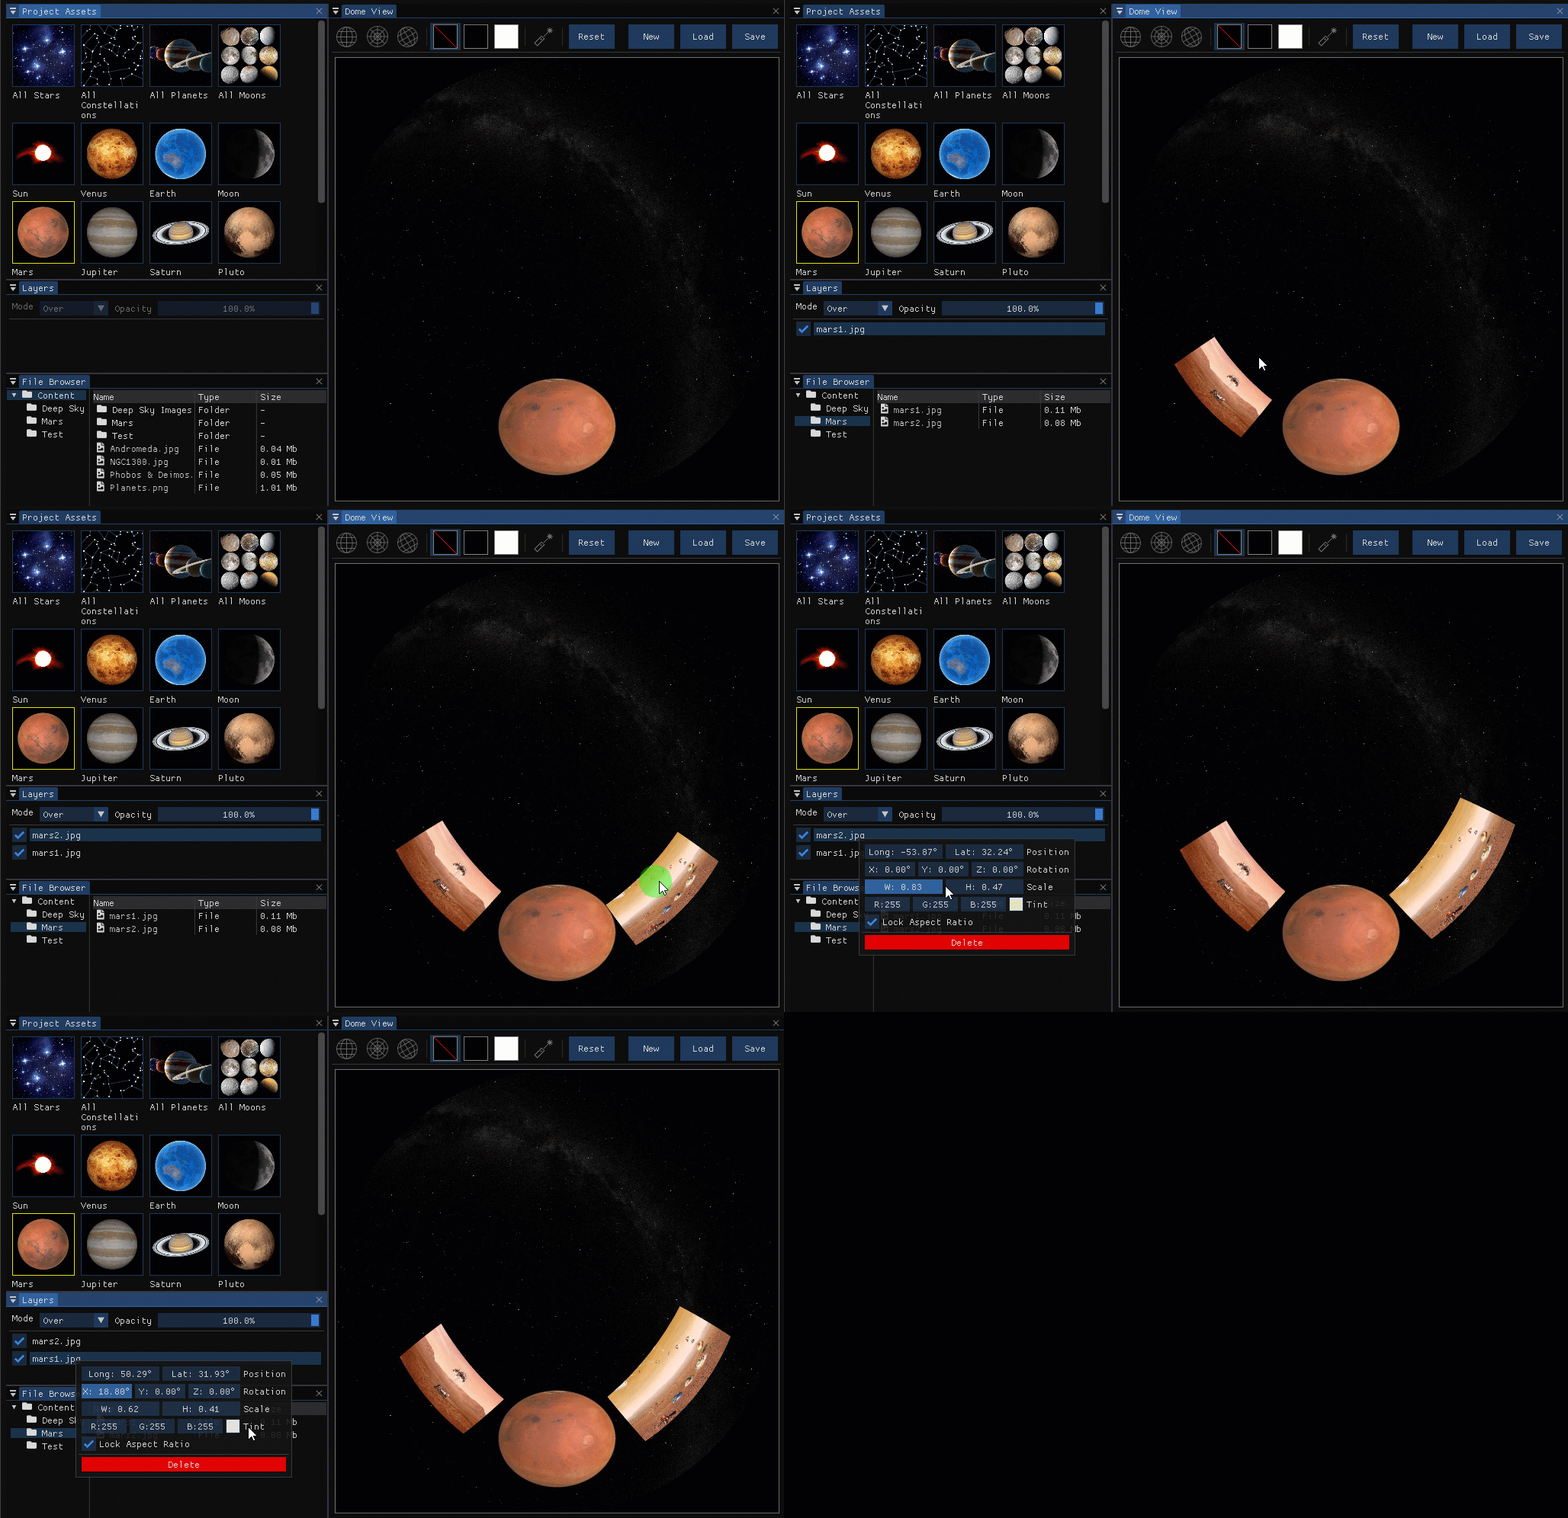
The user can add additional media, i.e., images to the slide to enhance the presentation.
To add an image to the slide, do the following:
- Browse and select an image in the File Browser panel.
- Drag the image to the Dome View panel.
- Place the image in the desired location on the dome screen by dragging it in the Dome View panel.
- Resize the image by dragging it in the Dome View panel with the right mouse button pressed.
- Adjust the position, rotation, scale, opacity, blending mode, stack order, and tint of the image in the Layers panel.
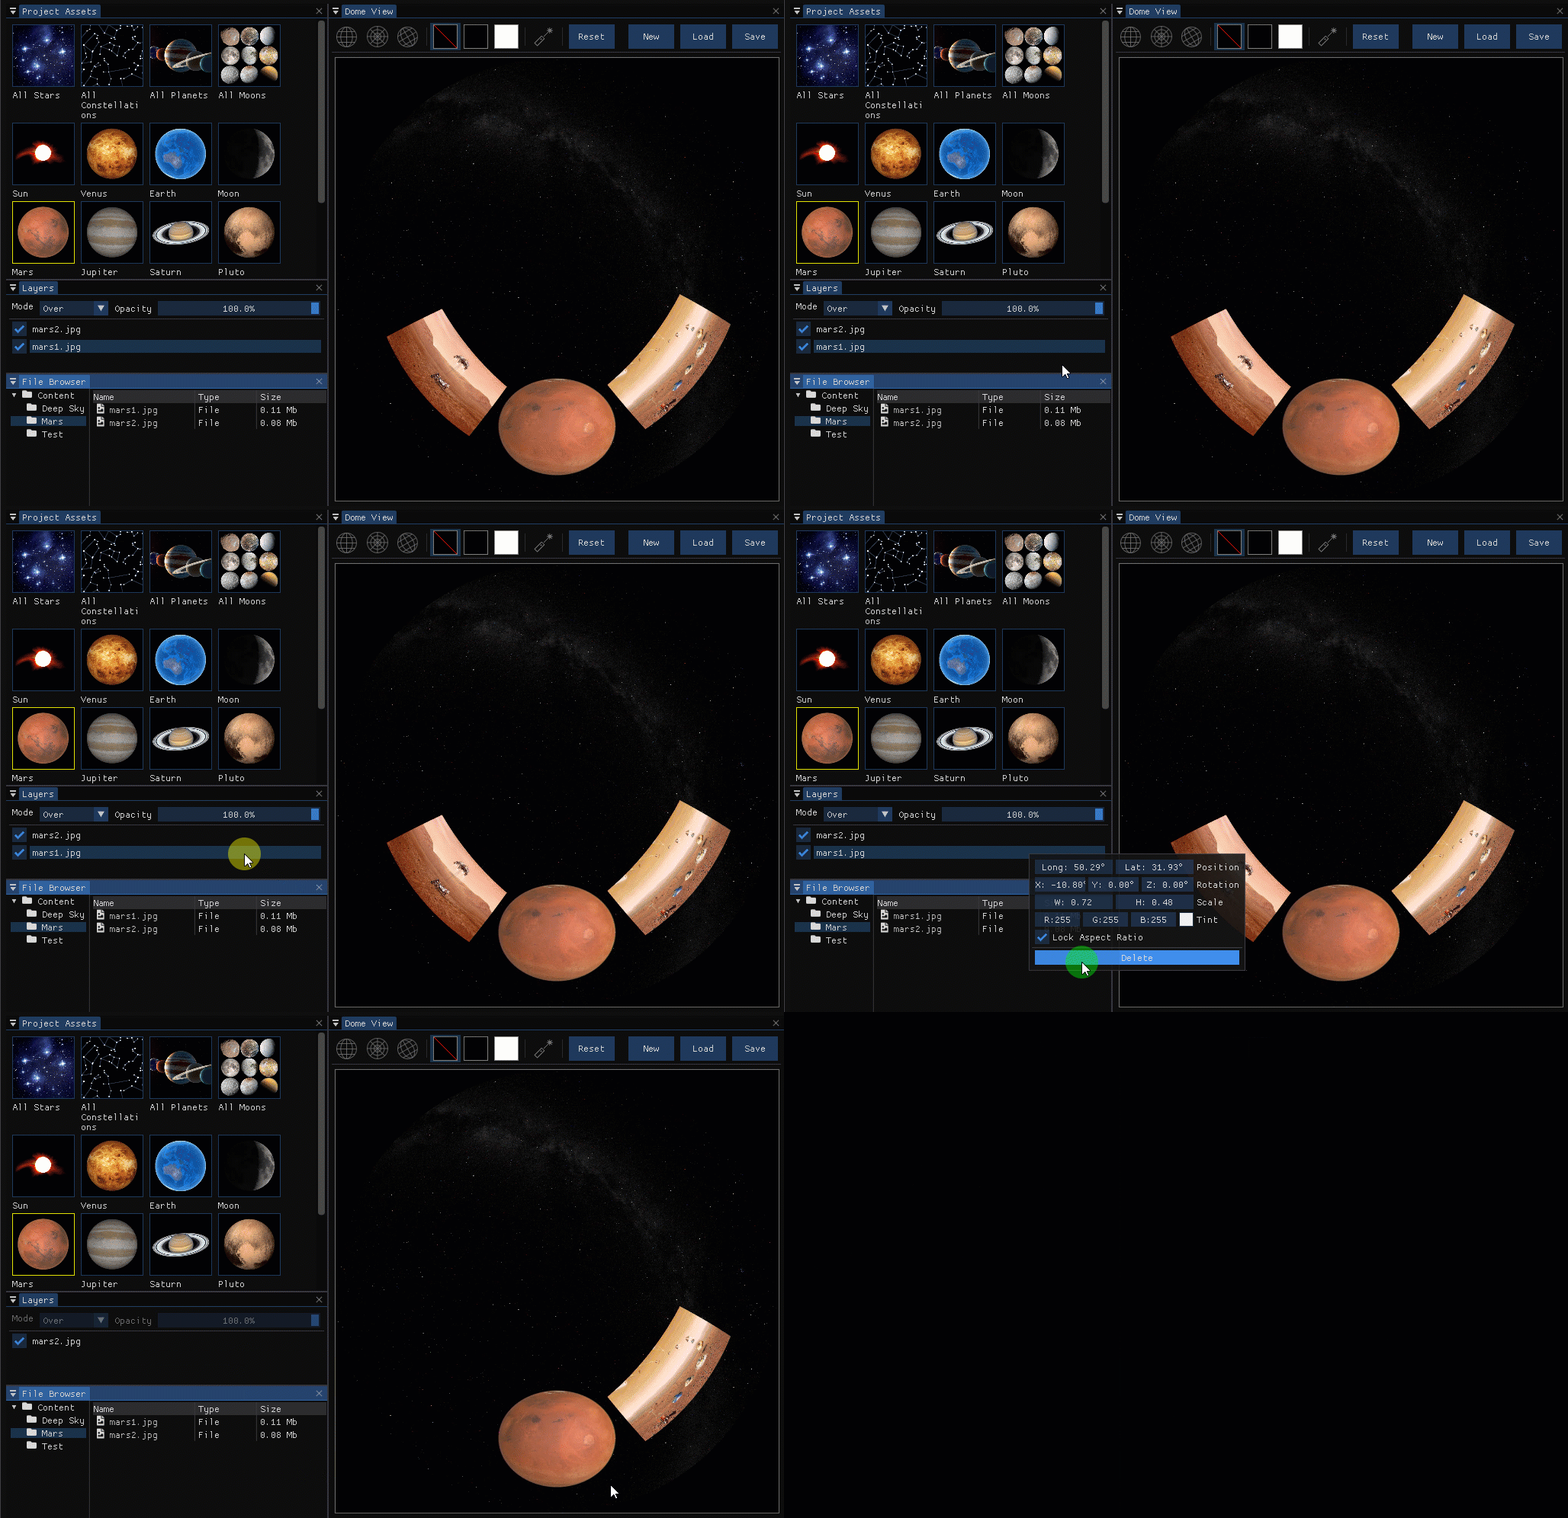
To delete an image, right-click on it in the Layers panel and select Delete in the opened menu.
Displaying Coordinate Grids
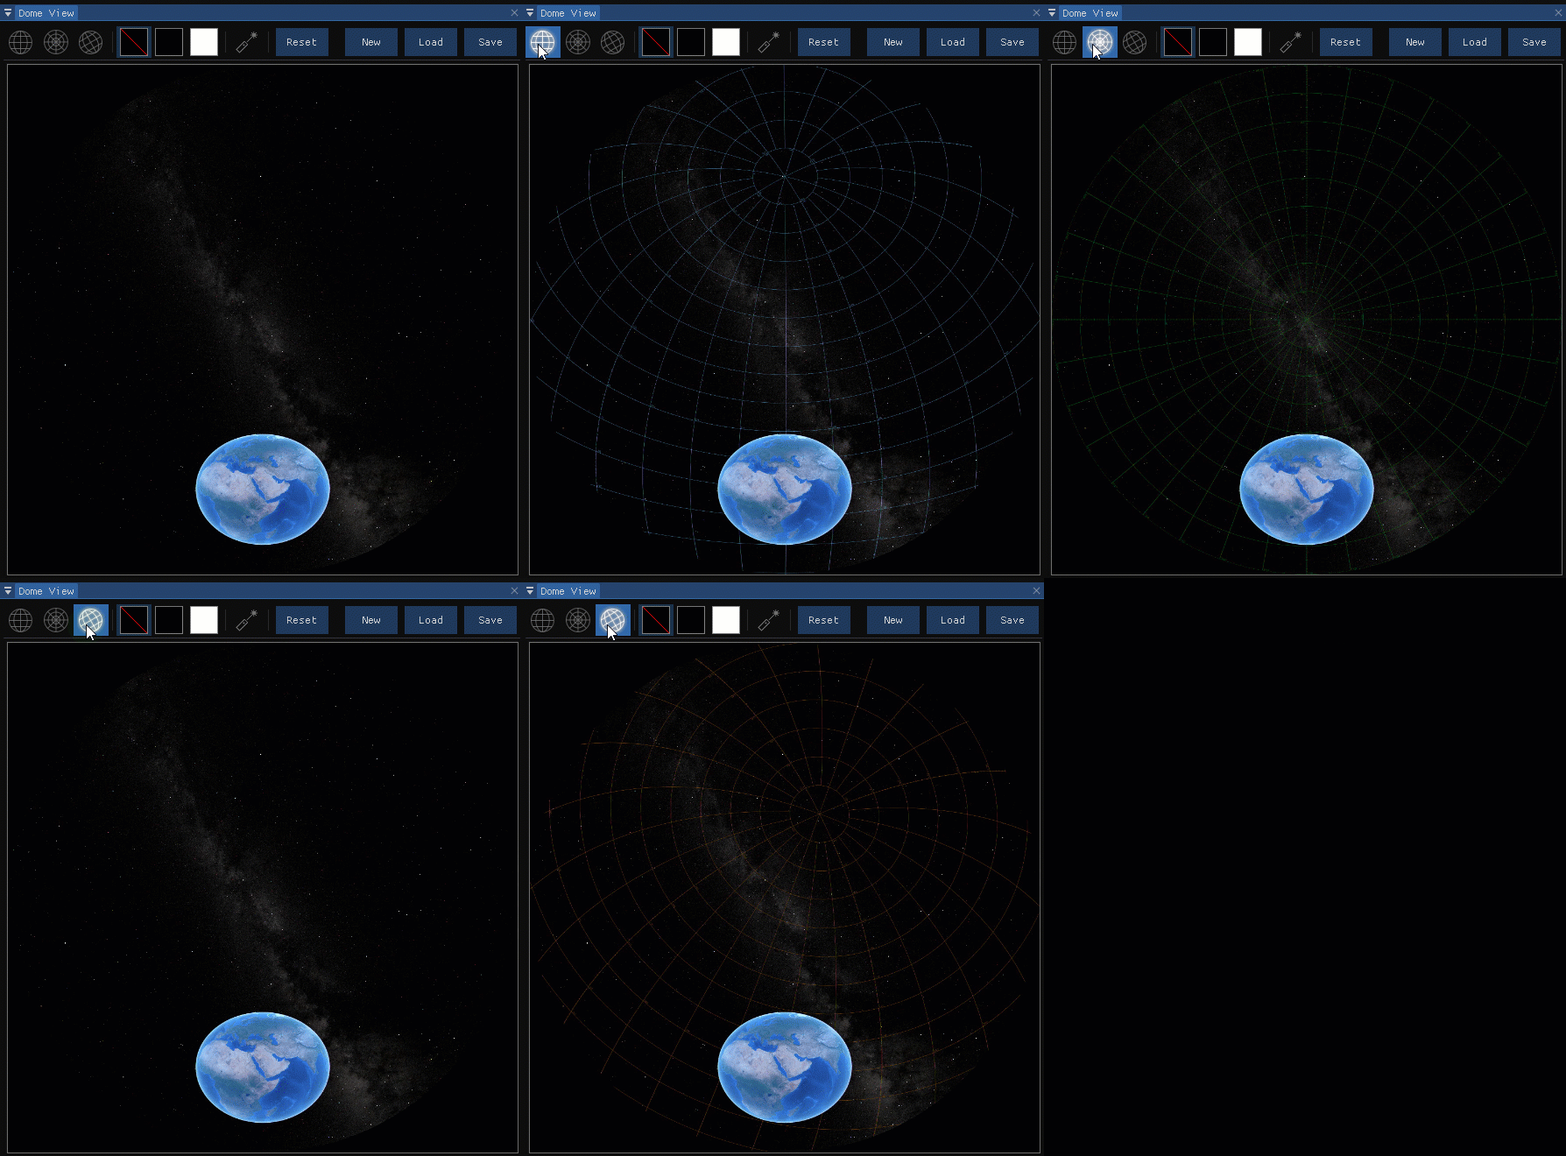
To display the grid of one or more astronomical coordinate systems, click on the grid icons in the top left corner of the Dome View panel:
 Equatorial Grid
 Azimuthal Grid
 Ecliptic Grid
The grid color can be changed by right-clicking on the grid icon.
Displaying Solid Colors
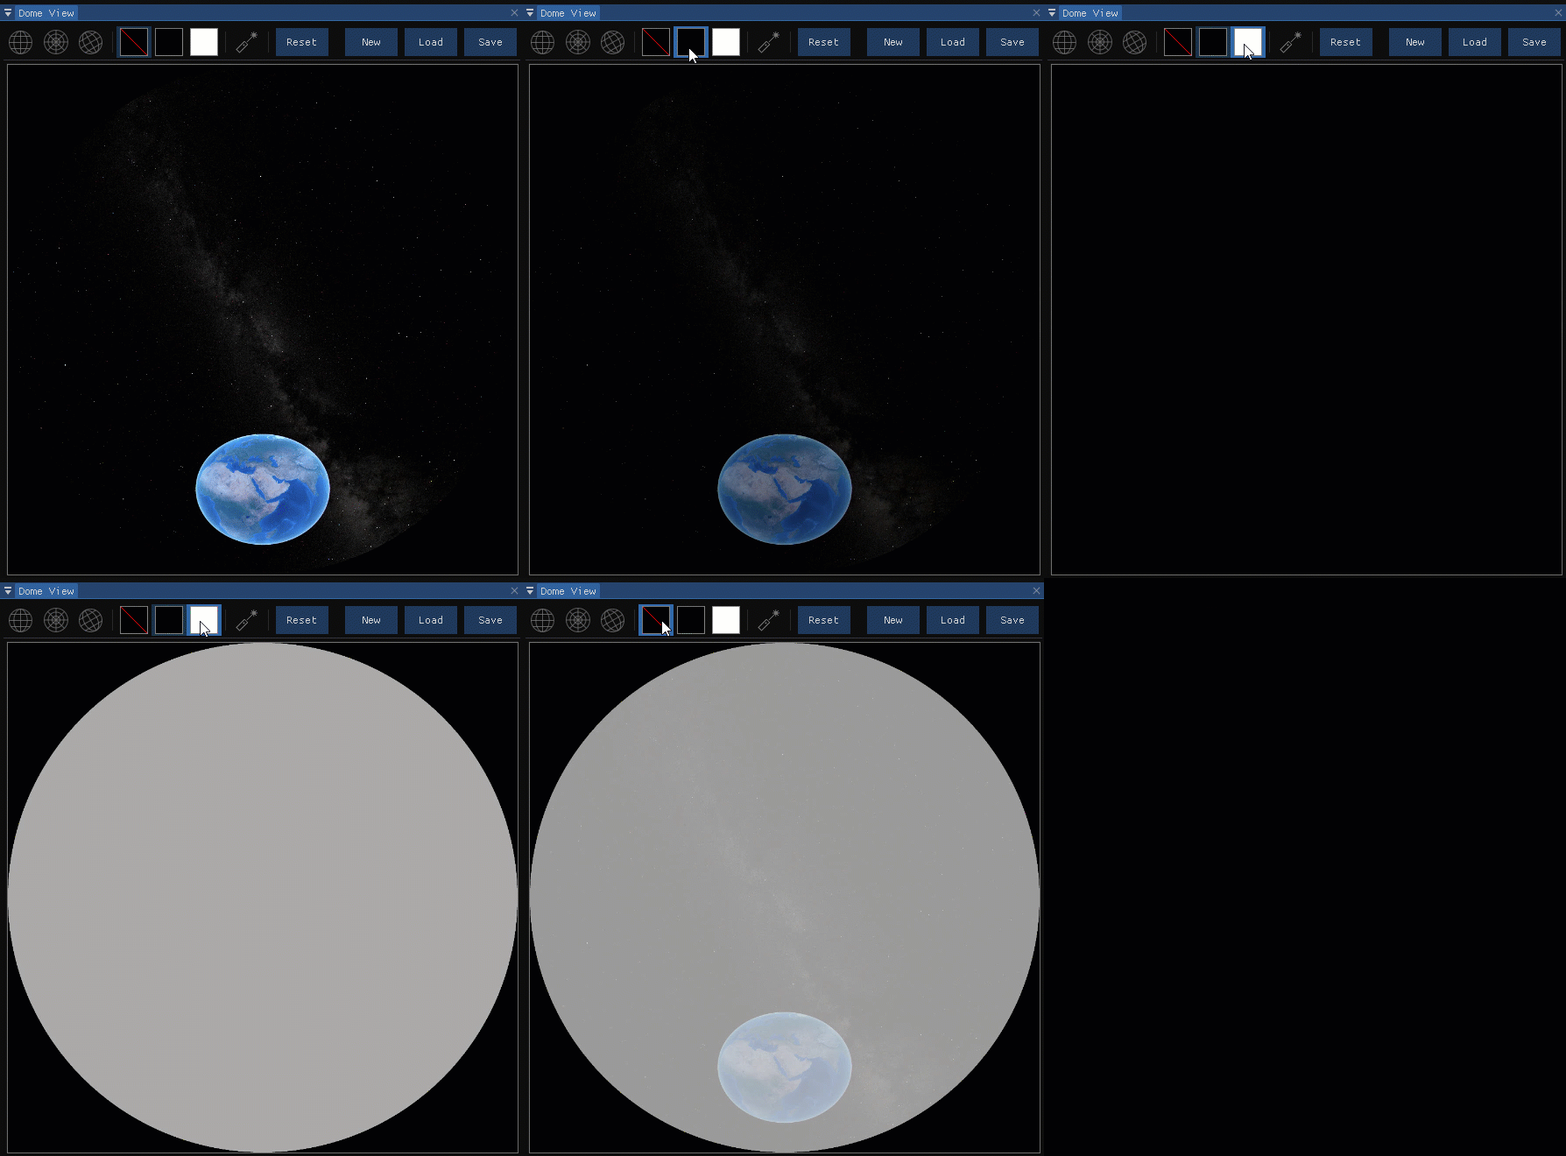
You can fill the dome screen with solid black or white color. To do this, click on one of the color icons at the top of the Dome View panel —  for black,
  for white. To remove the solid color overlay, click on the
  icon.
icon.
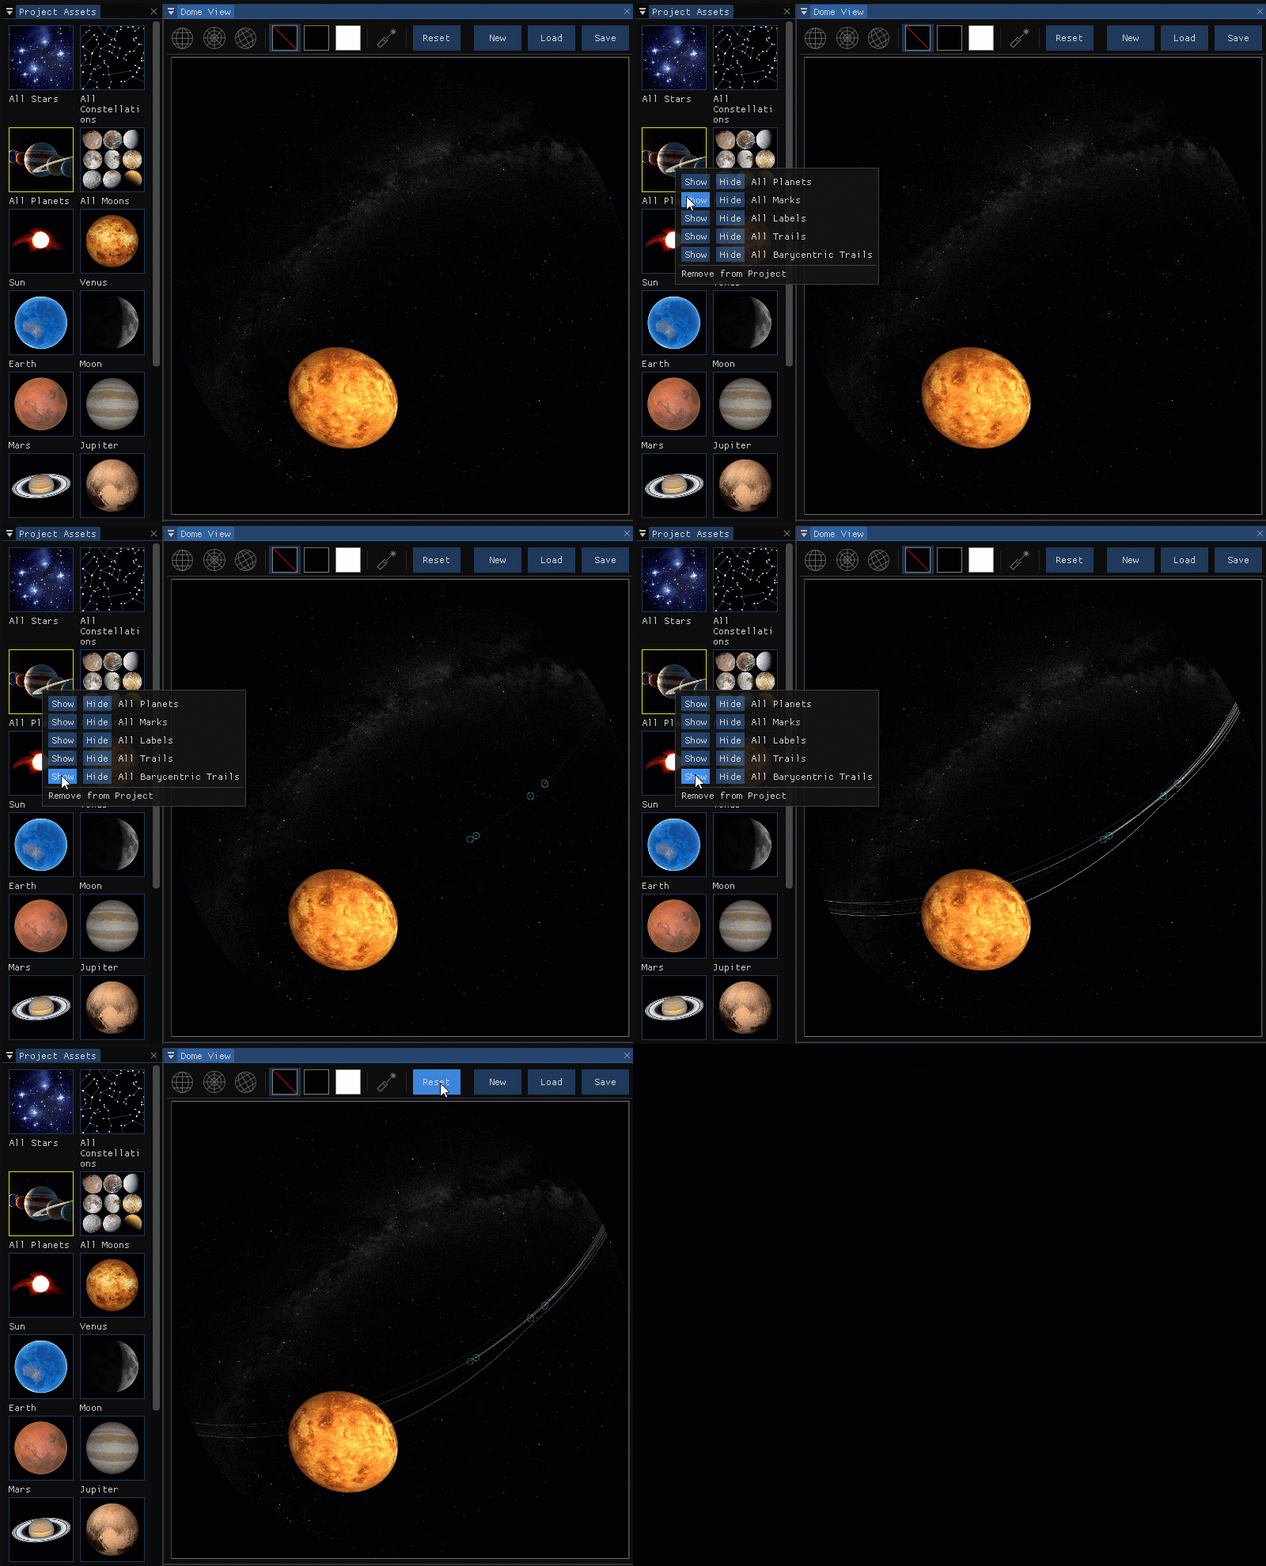
Resetting Editing Changes
To reset all visual parameter changes made while editing the slide, click on the Reset button at the top of the Dome View panel.
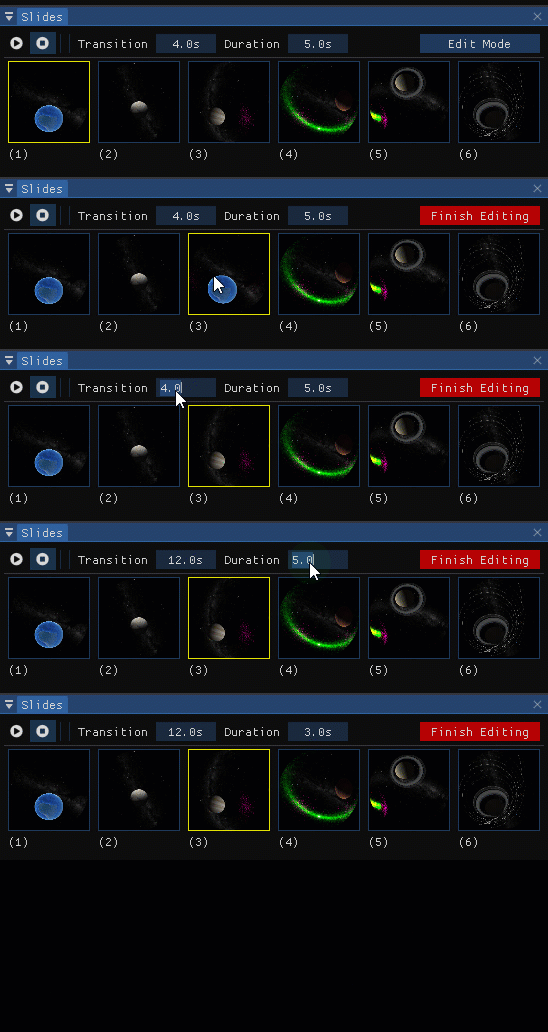
Modifying Transition and Duration Time for the Slide
To change the transition time from the previous slide and the duration of showing the slide, in the Slides panel, while in the Edit Mode, select the slide and enter values in the Transition and Duration fields.
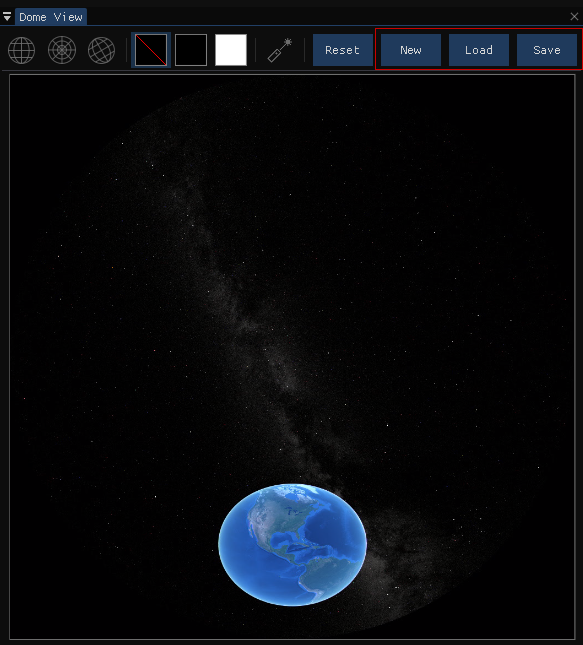
Creating, Loading, and Saving the Project
The Project menu located in the top right corner of the Dome View panel allows you to do the following:
 Create a new SpaceTime project.
 Load a previously saved SpaceTime project.
 Save the current SpaceTime project.
Playing Back the Presentation
To playback the presentation, press the  Play button in the Slides panel. To stop playback, press the
  Stop button.
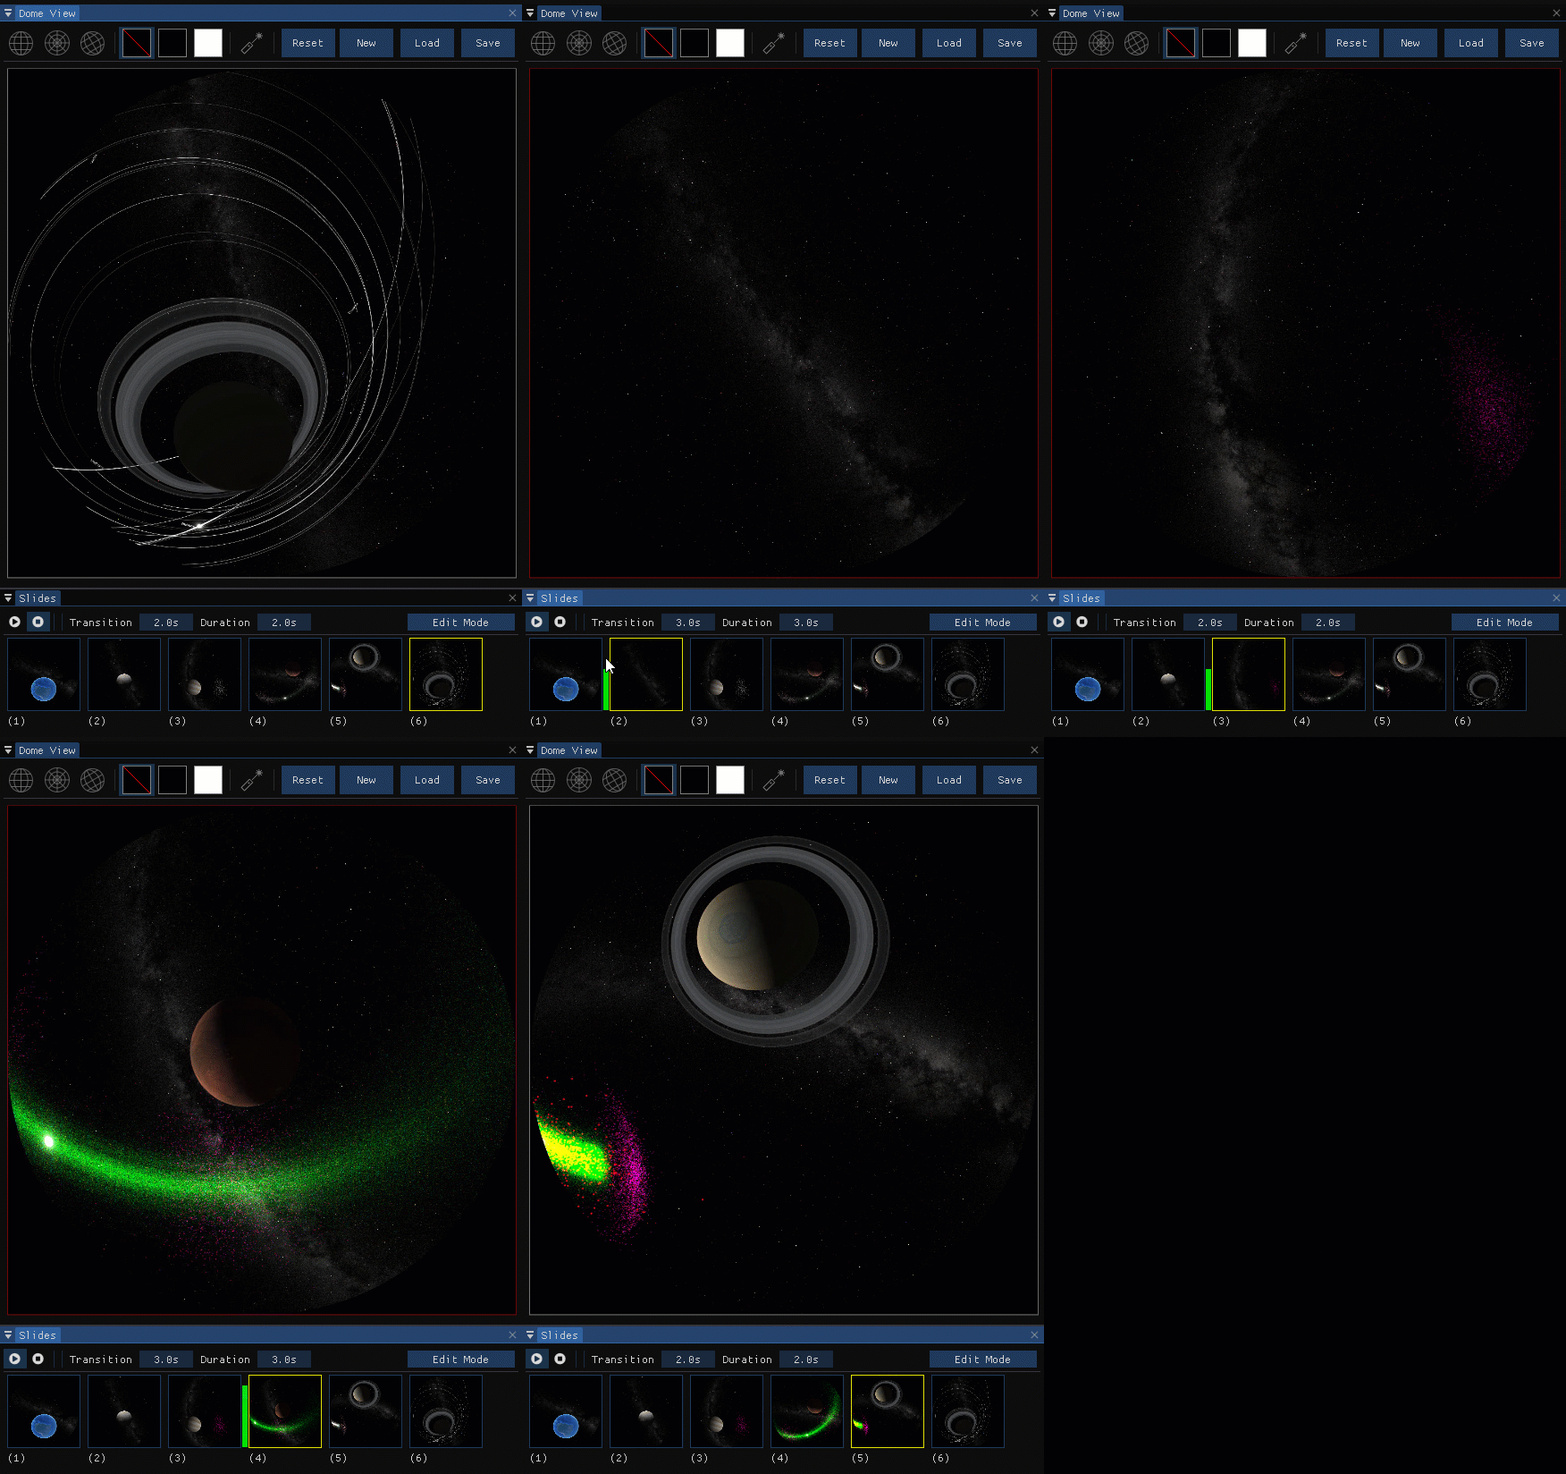
The duration of the transition between slides is indicated by the vertical progress bar between the slides.
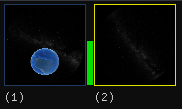
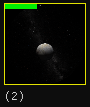
The duration of showing the slide is indicated by the horizontal progress bar on top of the slide.
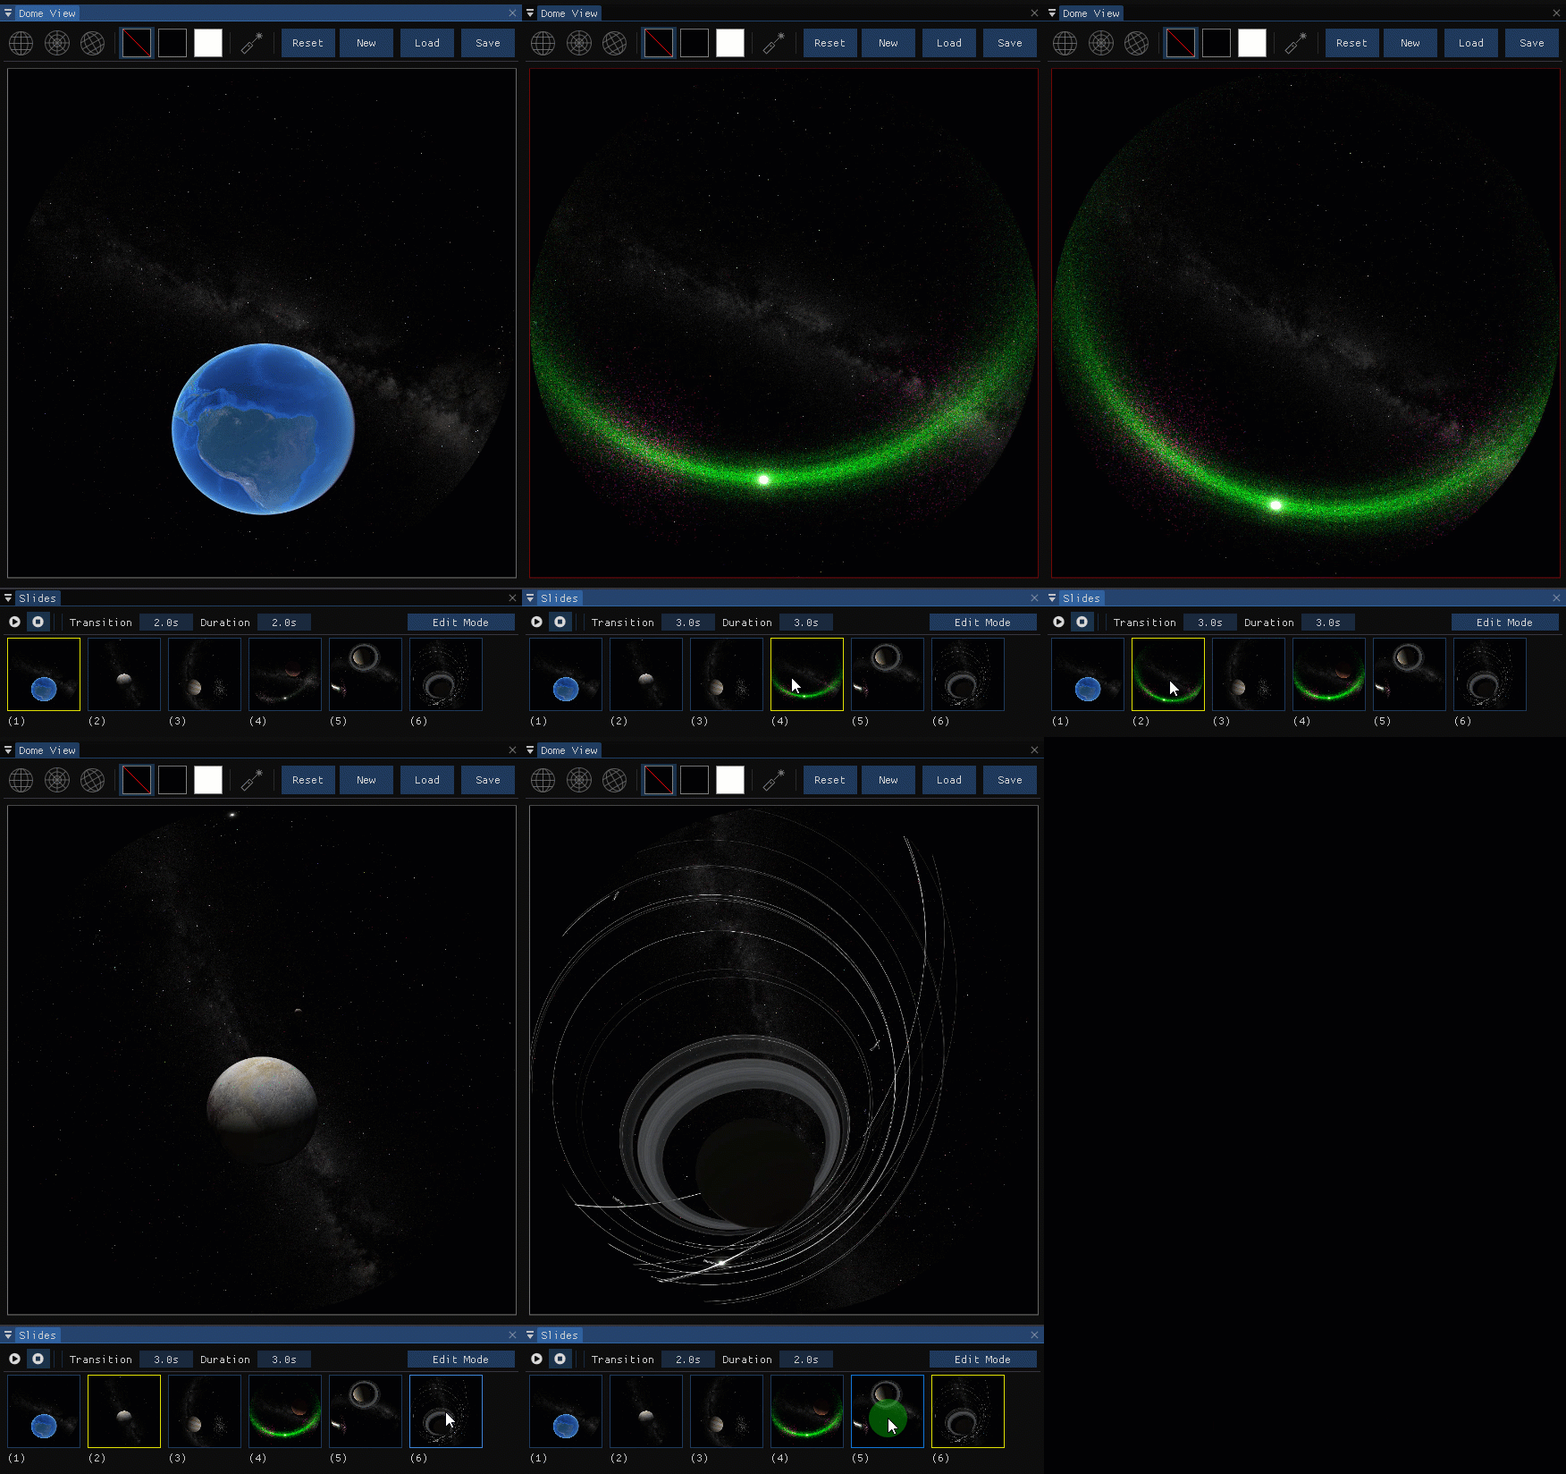
The slides can also be played out of order by clicking on the slide you want to display next. The smooth transition between such slides will be created automatically.
Using a Virtual Laser Pointer
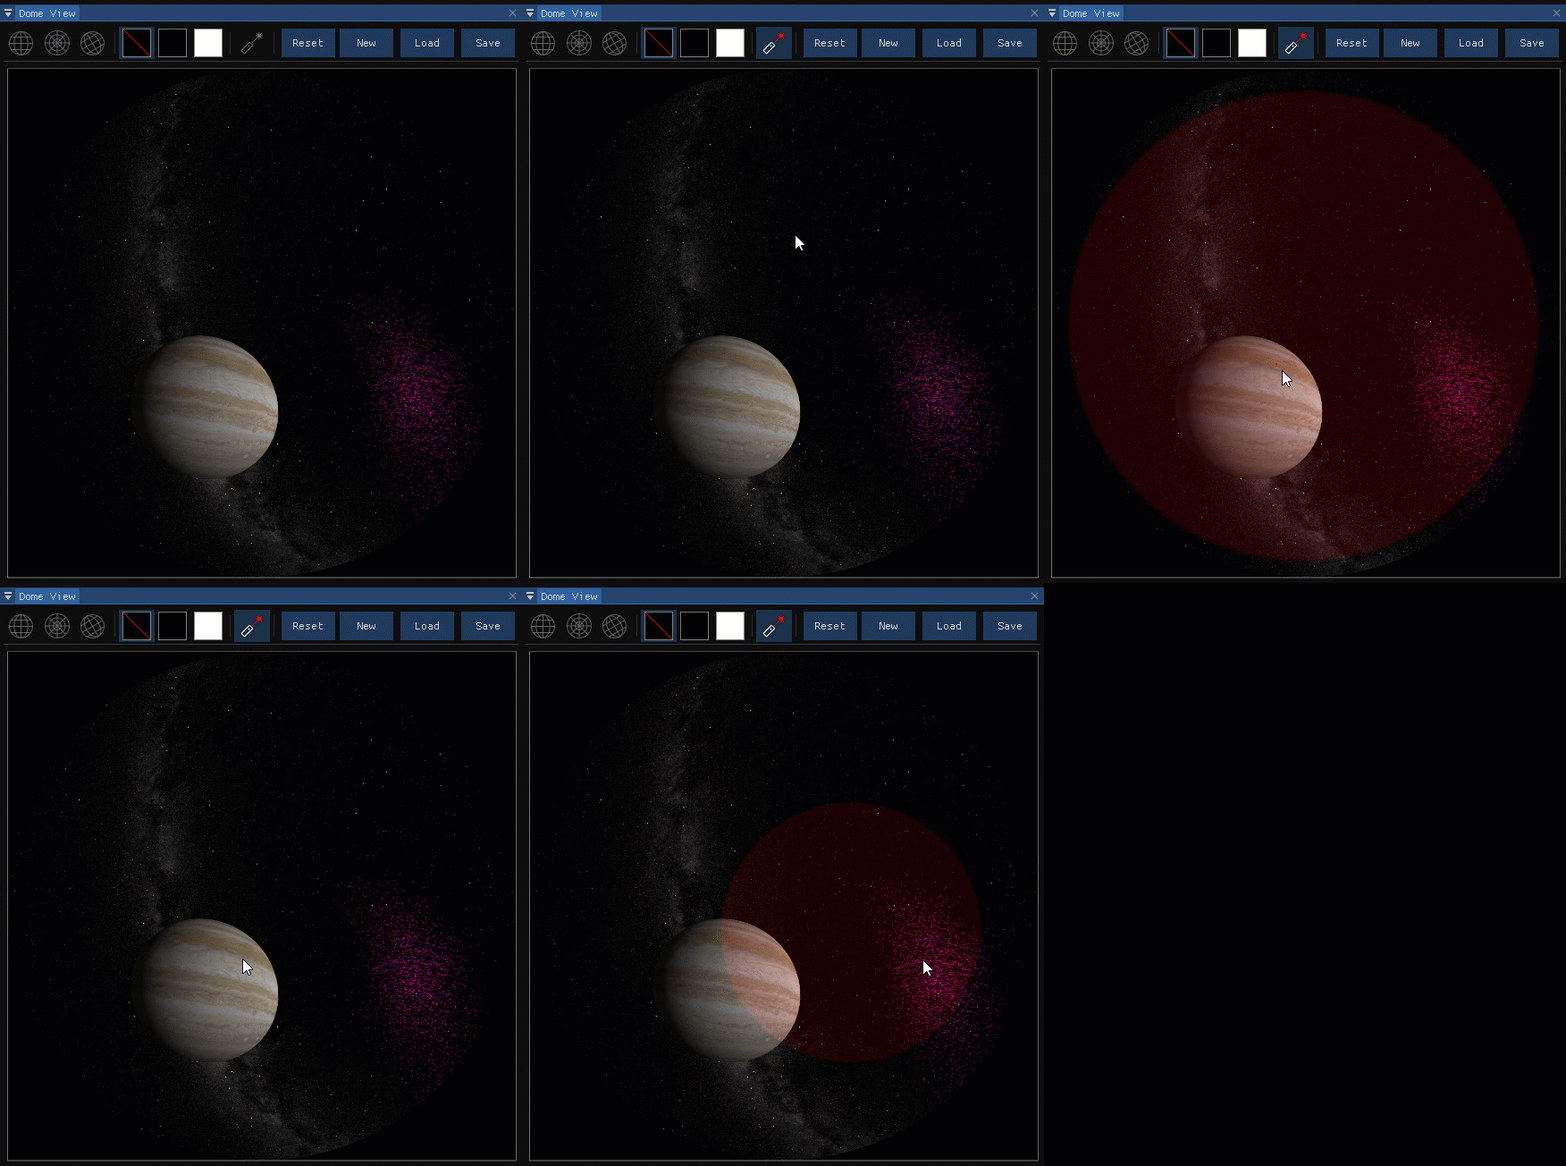
The presenter can use a “laser pointer” to draw the audience’s attention to something on a screen. To activate the laser pointer, click on the  icon at the top of the Dome View panel. To use the laser pointer, hold and drag the mouse over the point of the slide view you want to highlight in the Dome View panel. The laser pointer settings can be changed by right-clicking on the pointer icon.