

Automatic Calibration
Overview
In Screenbrerry both manual and automatic calibrations can be applied either separately or combined together.
Creating a Node Graph for Automatic Calibration
- In the Node Graph, add a Canvas node.
- Add the Canvas Editor widget to your workspace and make sure that the Displays option is selected in the view mode dropdown menu.
- In the Canvas Editor, press the Create Display Array button. In the dialog box, enter the number of Rows and Columns to create a grid with a number of cells that matches the number of projectors* in your setup, select CalibratorPatch as the Patch Type, and press OK. As a result, a node tree in the Node Graph is created that consists of the Calibrator node connected to the CalibratorPatch nodes, each of which is connected to one of the Display nodes, which in turn are connected to the Canvas node.
- In the Node Graph, add a MediaPlayer node (or any other media source node) and connect its Image output parameter to the Source input parameter of the Calibrator node.
- In the Node Graph, add a Camera node, then:
- Connect its Camera output parameter to the Camera input parameter of the Calibrator node, and
- Connect its Image output parameter to the Camera Image input parameter of the Calibrator node.

Setting Up Projectors
- Ensure that the projectors have equal or comparable lamp life. Replace the lamps if necessary. For projectors with solid-state laser light source, select the same brightness mode.
- Ensure that the projectors are fixed firmly and will not move during the calibration process.
- Connect the projectors to the corresponding video card outputs of the Screenberry Server with the help of video signal cables.
- Turn on all projectors.
- Using the projector’s menu, turn on Test Patterns to confirm that the projected images cover the whole surface of a target projection area (screen) and overlap sufficiently. The recommended overlap region is 5 to 15% on each side of the adjacent images. Adjust the zoom, lens shift, focus, and position of the projectors, if necessary.*
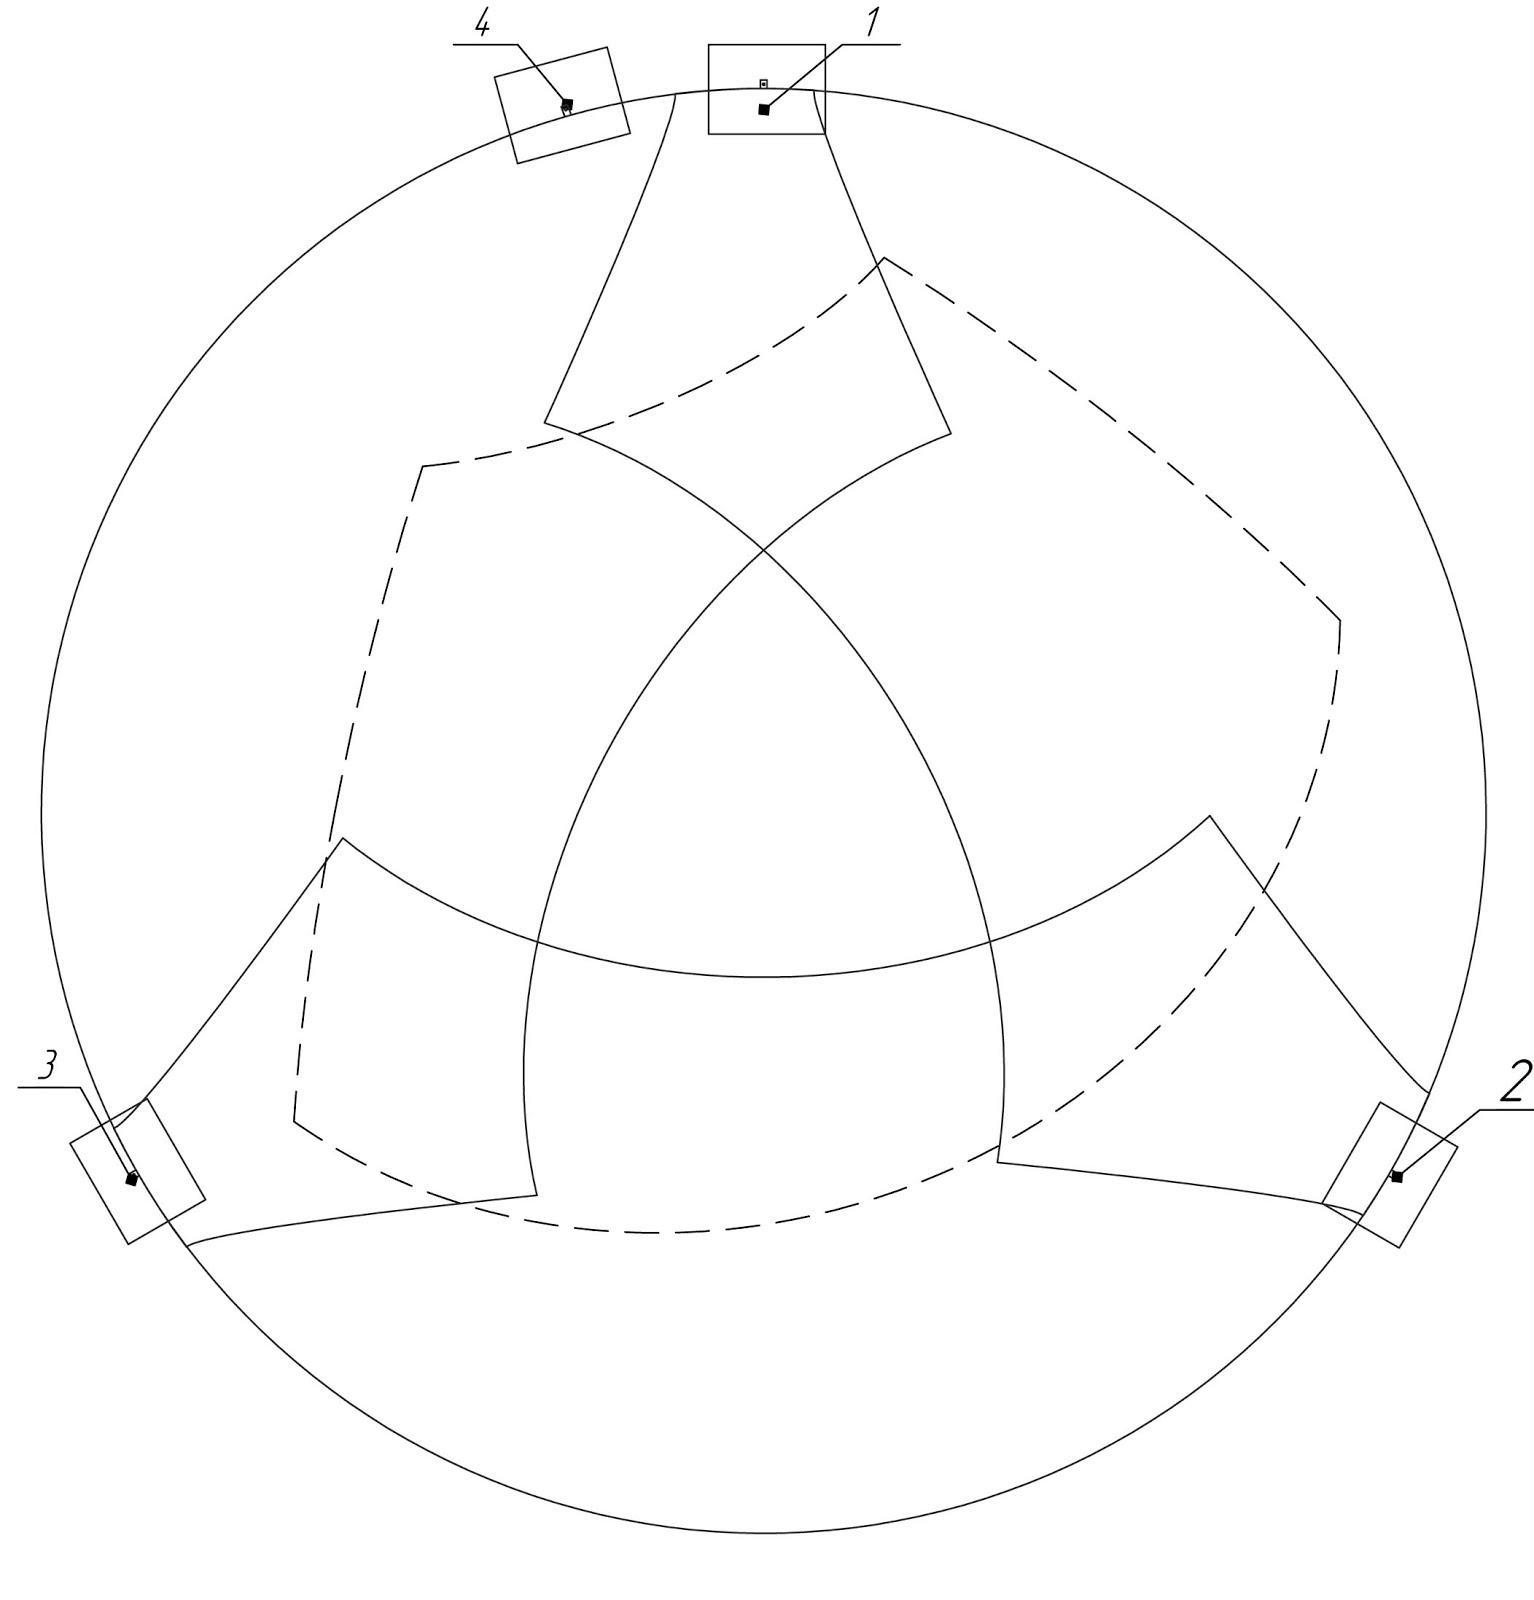
- Ensure that all additional correction settings on the projectors are turned off (like Auto Keystone Correction, Keystone and Geometry Corrections, unnecessary Color Corrections), and no additional functionality (like Picture-in-Picture mode, etc.) is being used. Confirm that the projector’s dynamic contrast and auto-brightness features (Auto Iris, Dynamic, Smart Eco, etc.) are turned off.
- Verify that all projectors are switched to the same Color Mode (sRGB, Presentation, Cinema, etc.).**
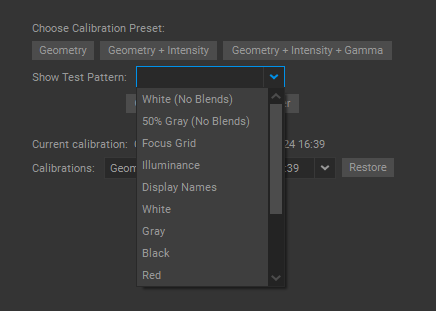
- To ensure that the signal is passing correctly and that the projectors are connected to the correct video card ports, use the Test Pattern option of the Calibration Wizard:
- Add the Calibration Wizard widget by selecting Window > Calibration Wizard from the main menu.
- Open the Show Test Pattern drop-down list.
- Select the White (No Blends) test pattern to check that the projectors are displaying images within the intended area and are overlapping correctly.
- Select the Focus Grid test pattern to check that all projectors are in focus.
- Use other test patterns available in the Show Test Pattern drop-down list to check the contrast, brightness, color and sharpness settings of the projectors.
**The names of the color modes can vary depending on the projector model and manufacturer.
Setting Up the Calibration Camera
- DSLR Camera (see the list of the supported cameras),
- Tripod with a Ball Head,
- USB Cable of a sufficient length for connecting the Camera to the Screenberry Server,
- Data Interface USB Cable compatible with the camera,
- Memory Card compatible with the camera.
| Nikon | D33, D3s, D3x, D300, D300S, D3500, D3400, D3300, D3200, D3100, D3000, D4, D40, D5, D500, D5600, D5500, D5300, D5200, D5100, D5000, D60, D600, D610, D700, D750, D7500, D7200, D7100, D7000, D80, D810, D810A, D800, D800E, D850, D90, Df, Z50, Z6, Z7 |
| Canon | EOS-1D Mark III, EOS-1D Mark IV, EOS-1D X Mark II, EOS 100D, EOS 1000D, EOS 1100D, EOS 1200D, EOS 1300D, EOS 200D, EOS 2000D, EOS 40D, EOS 450D, EOS 4000D, EOS 5D Mark II, EOS 5D Mark III, EOS 5D Mark IV, EOS 50D, EOS 500D, EOS 550D, EOS 6D, EOS 6D Mark II, EOS 60D, EOS 600D, EOS 7D, EOS 70D, EOS 77D, EOS 700D, EOS 760D, EOS 80D, EOS 800D, EOS 90D, EOS M, EOS M50, EOS M5, EOS M6, EOS M6 Mark II, EOS M100, EOS M200, Rebel T3, Rebel T5, Rebel T6, EOS R, EOS RP, PowerShot SX70 HS, PowerShot G5 X Mark II, PowerShot G7 X Mark III |
| Sony | α7, α7 II, α7R, α7R II, α7S, α5000, α5100, αv6000, α6300, α6500, NEX-5R, NEX-5T, NEX-6, HX60, HX80, HX90, HX400, WX500, RX10 II, RX100 III, RX100 IV, RX100 V, FDR-X3000R, FDR-X1000V, HDR-AS50, HDR-AS300R, DSC-QX30, DSC-QX100 |
Selecting a Camera Lens
It is recommended to use a lens with a focal length suitable for the projection screen topology:
- Normal or Wide-angle lenses are used for planar projection surfaces which are usually rectangular.
- Normal or Wide-angle lenses are used for non-planar projection surfaces such as a curved rectangular display.
- Circular Fisheye lenses are used for non-planar projection surfaces such as a dome or cylindrical panorama.
Camera Settings
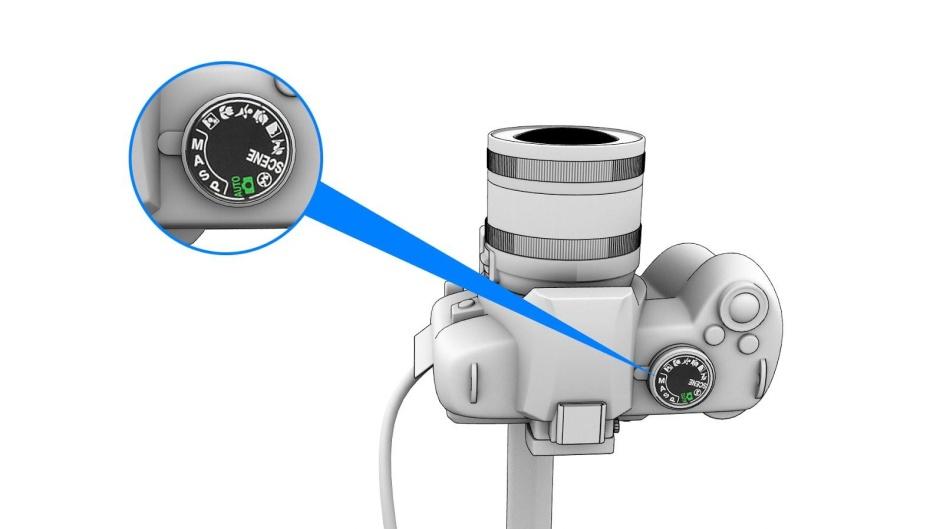
It is important that camera post-processing parameters are switched off.
Example of correct Nikon camera* settings:
| Set Picture Control | SD (Standard). All parameters should be set to zero, including sharpening. |
| Active D-Lightning | OFF |
| High ISO NR | OFF |
| Auto Distortion Control | OFF |
| Long Exposure NR | OFF |
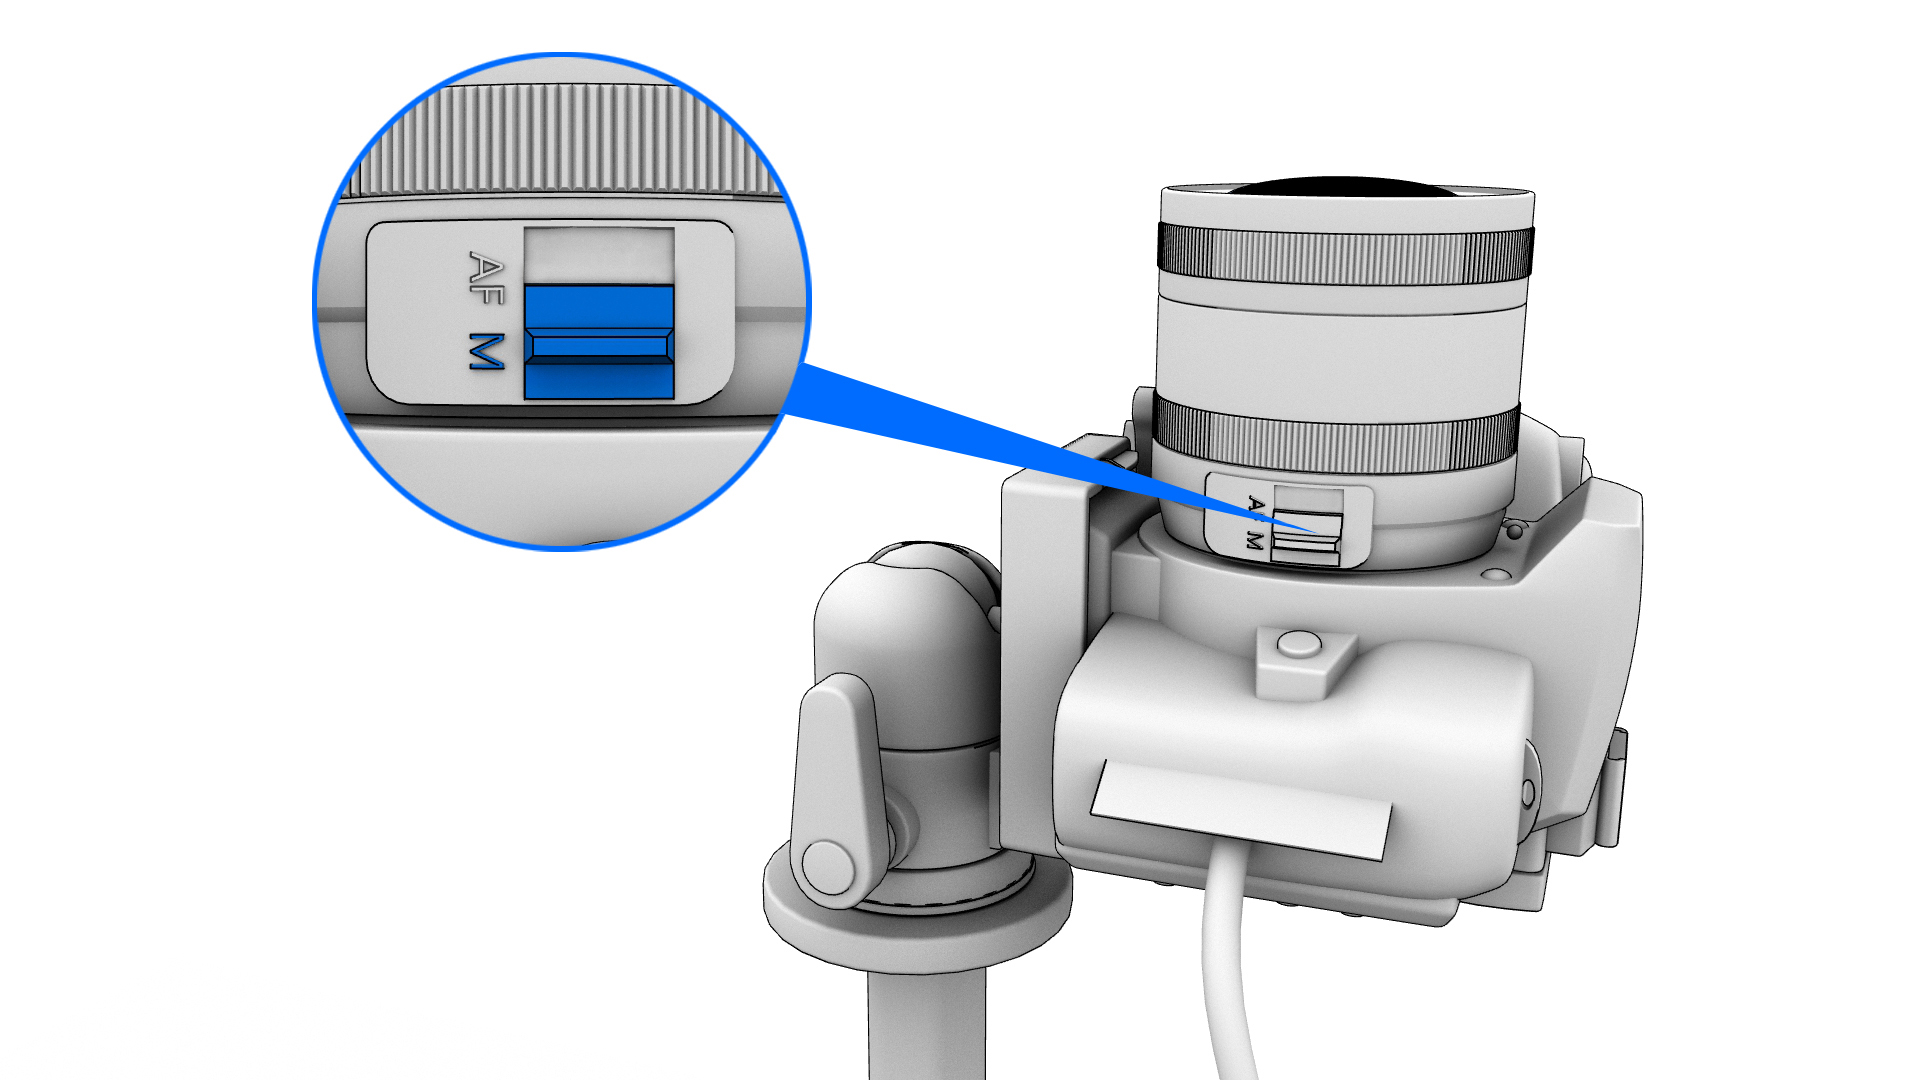
| Automatic focus | OFF |
| Auto Sensitivity Control | OFF (Nikon 3400 only) |
| White Balance | Cloudy |
Positioning the Camera
Camera positioning for Dome Projection
Camera position guidelines:
- Mount the camera steadily on a tripod and position it in a way that it captures the entire projection area (screen).
- Position the camera tripod on the floor surface below the dome so the camera lens is aligned with the dome’s zenith.
- Ensure that the camera tilt matches the dome tilt.


- Position the camera lens directly below the projectors’ lenses so that the camera does not cast shadows on the dome screen.
- Orient the camera so that the bottom of the picture frame corresponds to the front of the dome and the top of the frame corresponds to the rear end of the dome.
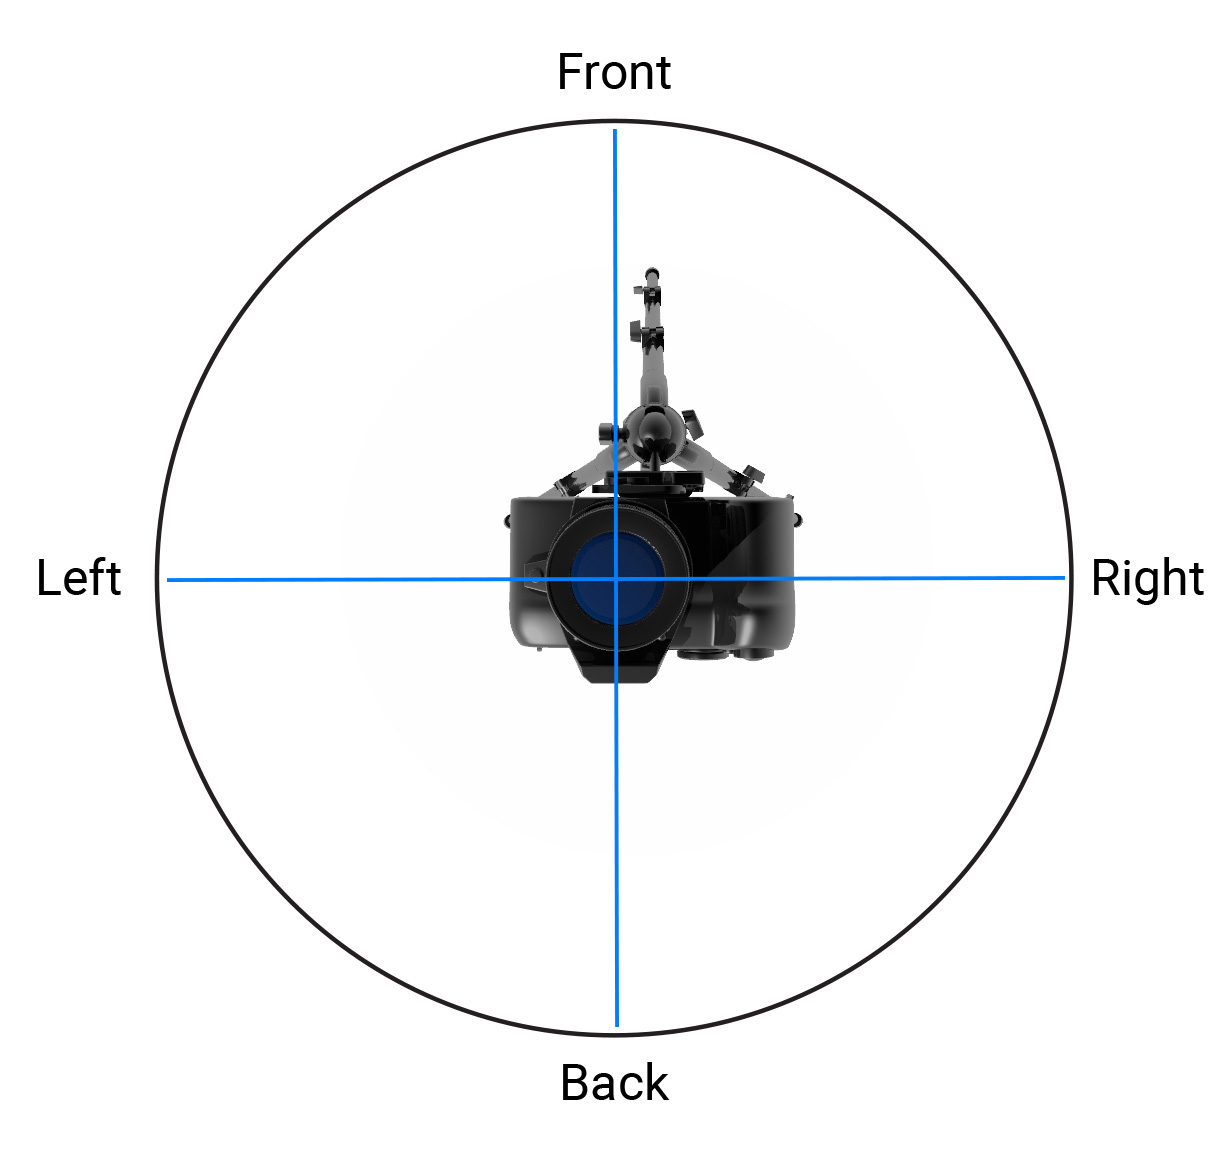
The camera tripod should be installed on a firm and stable horizontal surface to avoid movements and vibrations during the calibration process.
- Remove the lens cap and anti-glare ring.
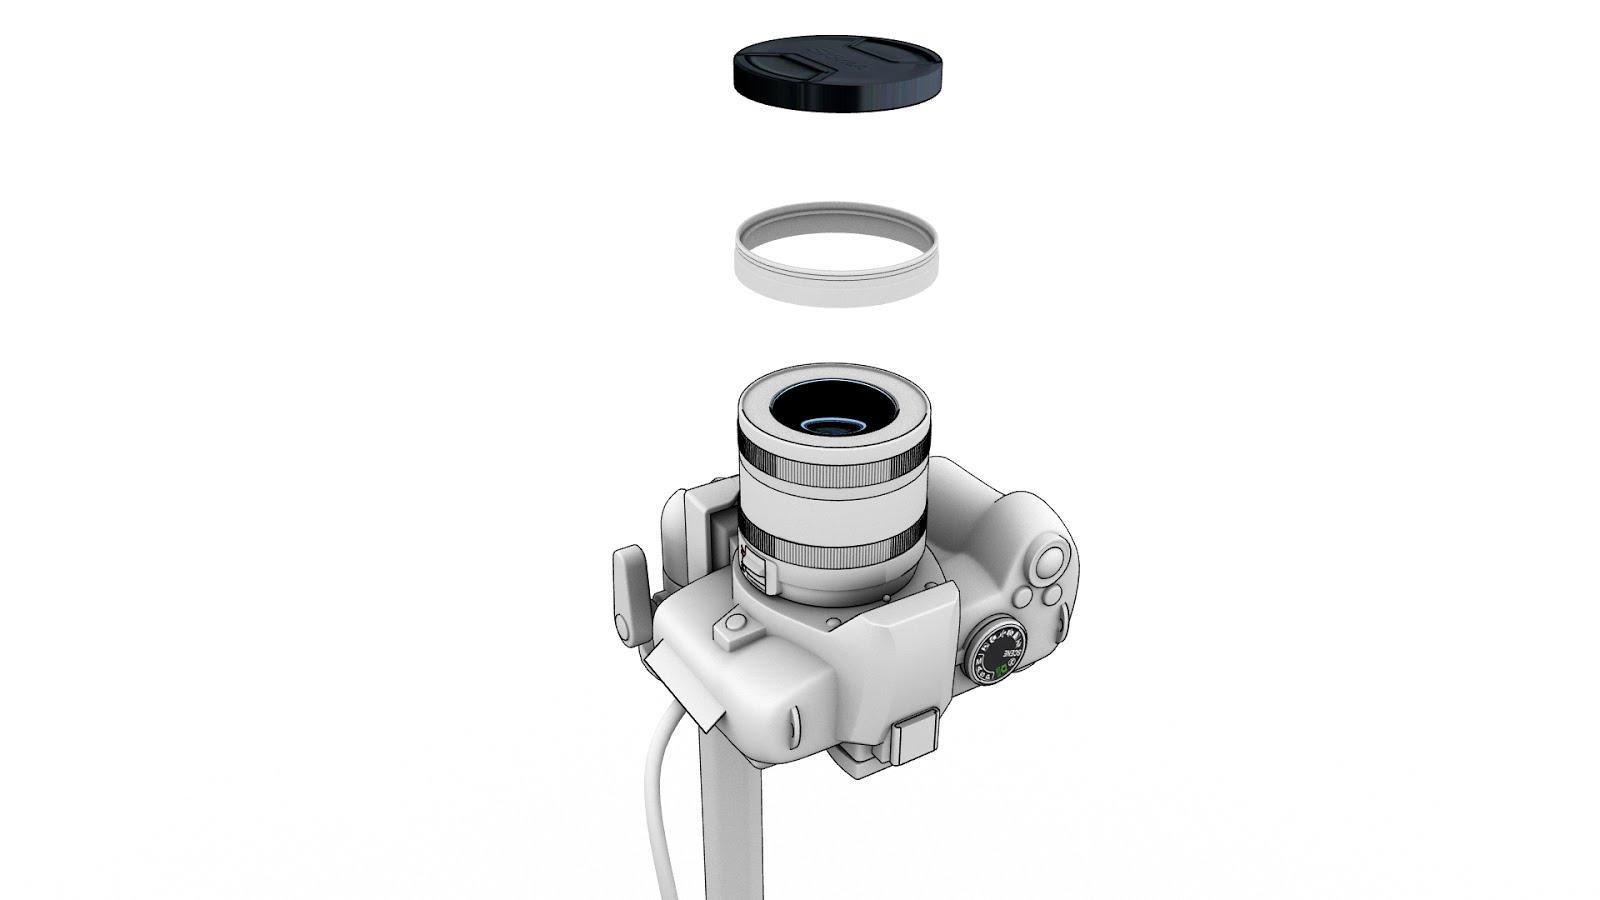
- Connect the camera to the Screenberry Server using a USB cable.
- Ensure that the camera memory card has sufficient free space for at least one photo in the RAW format.
- Ensure that the camera battery is sufficiently charged. In the case of using a power adapter, connect the camera to a power outlet.
- Ensure that there are no obstructing objects between the screen and the camera that could interfere with the calibration process.
The entire projected image should be within the camera view, and there should be no shadows on the screen.
Multiple camera calibration
Screenberry also supports multiple cameras’ automatic calibration.
Automatic Calibration Presets
- Geometry calibration provides geometry alignment and edge blending. It normally takes about 30 seconds per projector and includes the Masks, Geometry, and Blends calibration stages.
- Geometry + Intensity calibration provides geometry alignment, edge blending, and black and white level compensation. It normally takes about 1.5 minutes per projector and includes the Masks, Geometry, Blends, and Intensity calibration stages.
- Geometry + Intensity + Gamma calibration has all the Standard calibration features with the addition of gamma correction to ensure image color uniformity within blends. It usually takes about 15-30 minutes and includes the Masks, Geometry, Blends, Colors, and Intensity calibration stages.
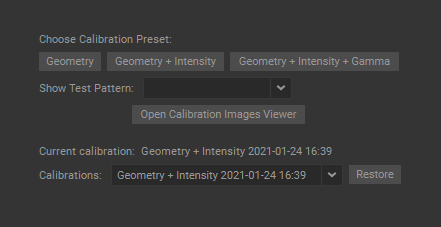
The initial Standard and Standard with Colors Stage calibration may take longer as more pictures at a slow shutter speed should be taken for automatic adjustment of the camera for black calibration.
The Standard with Colors Stage mode is required only if you are using DLP single-chip projectors with Brilliant Color enabled. This calibration is required for the initial setup, or in any of the following cases:
- After the projector lamps have been replaced following extensive use.
- When visible color shifts in the blends between projections become apparent.
- After the projector color mode (Presentation (Game, PC), Cinema, sRGB, etc.) had been changed.
Once the Colors calibration stage is completed, the gamma correction maps are stored in the LUT tables and applied every time that the Geometry and Geometry + Intensity calibrations are run.
Checking Projectors and Camera Positioning
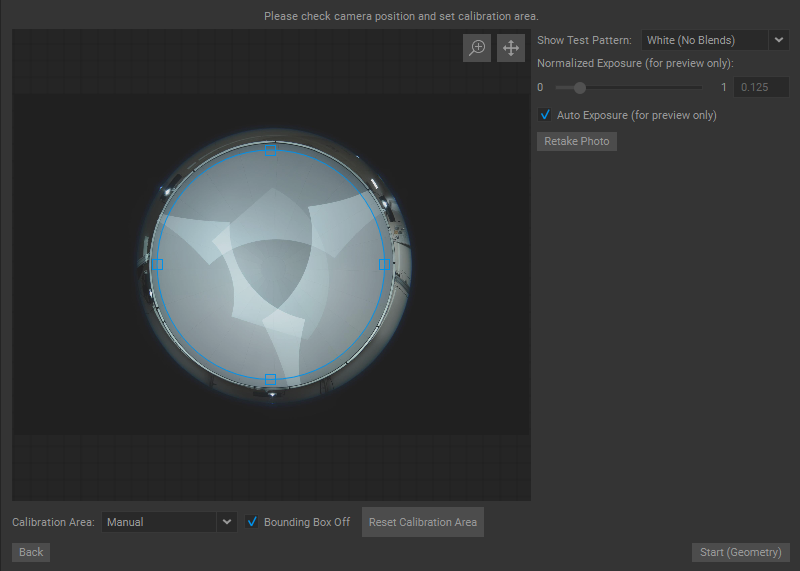
Based on the test photo, adjustments can be made, if necessary, to:
- Camera rotation and tilt.
- The positioning of projectors and projected images overlapping.
- The positioning and focus of the camera.
After adjustments are made, press the Retake Photo button  to take another test photo. Make further adjustments if necessary. Repeat these steps until the camera and projection layout are set up as required.
Defining the Calibration Projection Area
Open the Calibration Area dropdown menu to select one of three screen area setting modes:
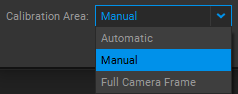
- Automatic. Using the calibration patterns, the Calibration Wizard identifies the borders of the projection area automatically.
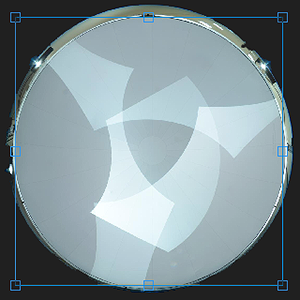
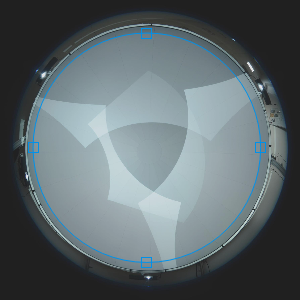
- Manual (recommended). In this mode, a user can manually define a more precise bounding shape for the projection area. This approach significantly improves calibration quality by excluding undesired areas that should not be covered by the projection.
To adjust the mask, do the following:- In Bounding Box mode, scale the mask by dragging the handles.
- In Circular mode, apply fine adjustments to the mask by dragging the handles on the curve. You can switch to this mode by selecting the Bounding Box Off checkbox

 .
.
- In Bounding Box mode, scale the mask by dragging the handles.
 and Pan
  buttons in the top right corner and moving the mouse.
To reset the mask to its default state, press the Reset Calibration Area button  .
.
The mask settings defined by the user are saved automatically, and loaded during the next calibration session.
- Full Camera Frame. In this mode, the Calibration Wizard automatically recognizes the entire photo frame as a projection area and positions the content to fit within the borders of the test photo.
Running Calibration
 to start the calibration. During calibration, the Calibrator Wizard displays the calibration progress bar, the current calibration stage, and photos of the calibration patterns projected on the screen.
 . The Abort button stays active during calibration and deactivates once the calibration process is finished successfully.
Press the Finish button  when the calibration process is completed. The Finish button is inactive during the calibration process and activates when calibration is completed.
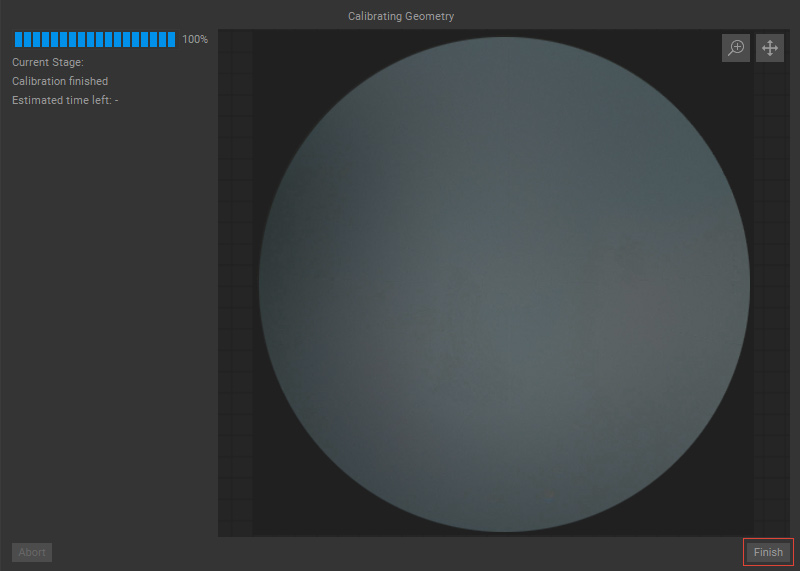
To achieve the best calibration results, during the calibration process:
- No object or person should obstruct the projectors’ light beams. If during the calibration the presence of personnel is required, they must remain below the projection line and out of camera view range.
- No light sources should be present in the dome. Lamps, monitors, phone screens, etc. should be turned off or, at the very least, set to minimum brightness.
Stages of Automatic Calibration
- During the Masks stage, a series of black and white line patterns is generated to define a projection area for each projector.
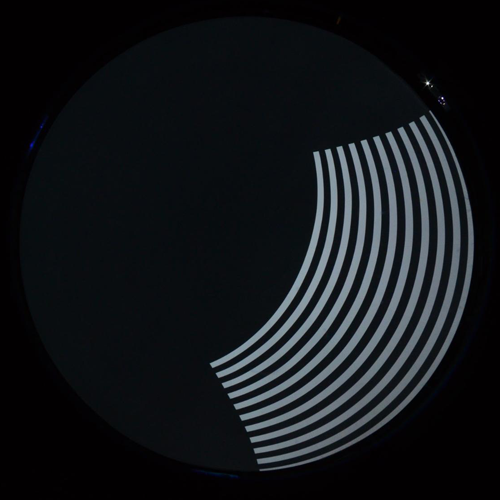

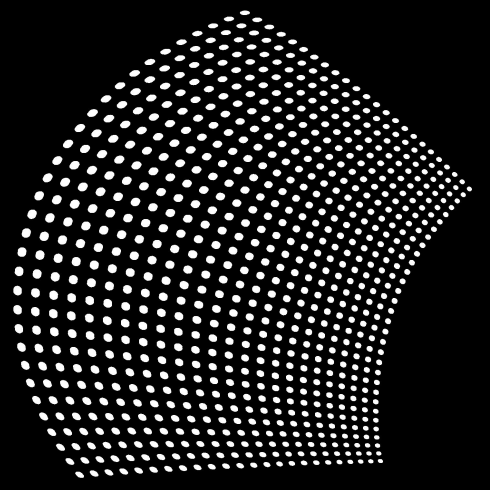
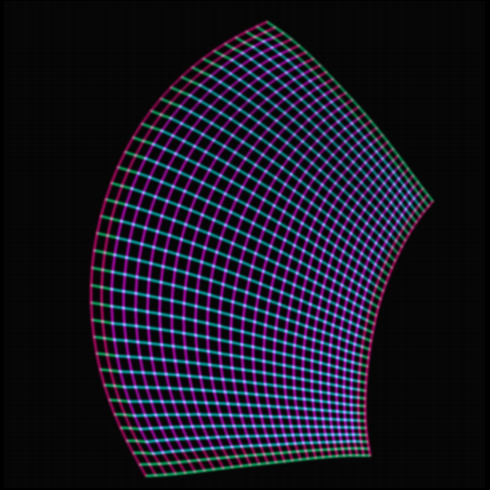
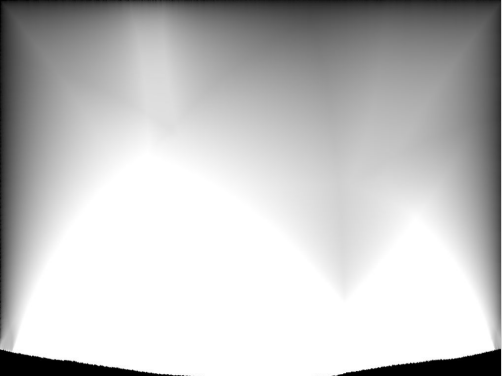
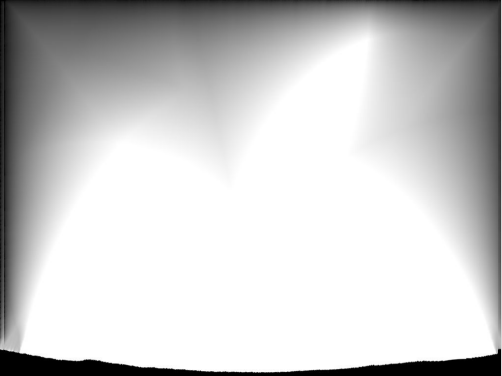
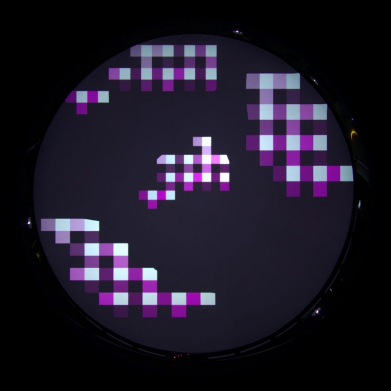
The Gamma Correction calibration stage is required for the initial setup, after projector lamp replacements, or following extensive use, when visible color/brightness shifts in the blends between projections become apparent, which can be checked by using the Red, Green, Blue test patterns.
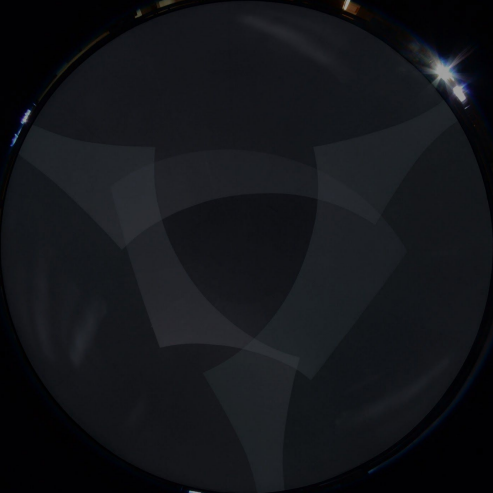
Post-Calibration Dome Image Adjustment
 node.
node.Reviewing Calibration Images
To review the calibration data, press the Open Calibration Images Viewer button  in the Calibrator Wizard widget and choose the image file for the required calibration stage from the Select Image drop-down list.

Exporting Calibration Files
Export of calibration files is disabled in the demo version of Screenberry.